Ultrasonic Flaw Detection across a Water Gap

Ultrasonic Flaw
Crack detection in the region of the weld root for control rod nozzles installed in the reactor pressure vessel cap is difficult due to limited accessibility. For ultrasonic testing, probe coupling is possible only at the inner surface of the engine rod guide tube. There is a water gap of 2 to 3 mm between the guide tube and control rod nozzle.
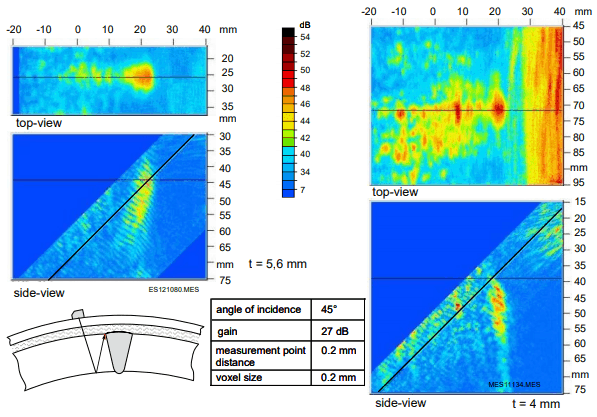
Investigations were performed to determine ultrasonic inspection parameters best suited to crack detection across a water gap. Measurements across a water gap were carried out on planar, convex, and concave surfaces specimens. Test reflectors (spark eroded notches) were introduced at different depths for the respective specimen. The notches had different positions and orientations in relation to the weld.
After detection of test reflectors, sizing tolerances were reviewed. Measurement data were post-processed by means of reconstruction technique using SAFT. Measurement and analysis results are presented.


Responses