Presentation On Phased Array UT in Lieu of Radiography
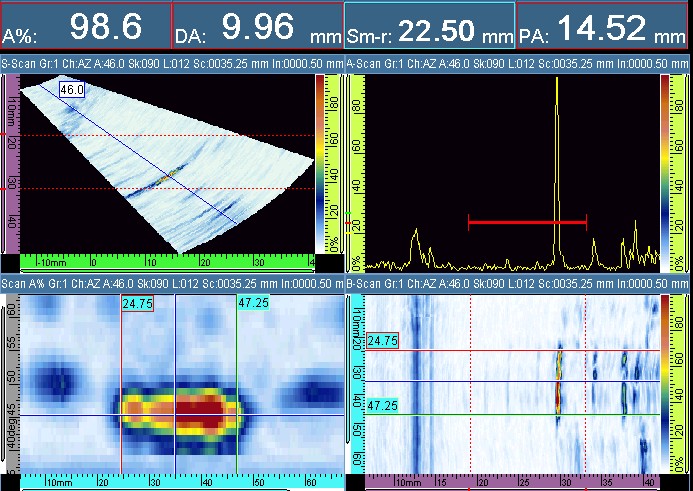
Phased Array Ultrasonic Testing (PAUT)
Presented by/ Credits to: www.sajetc.com

Introduction to Ultrasonic Testing (UT)
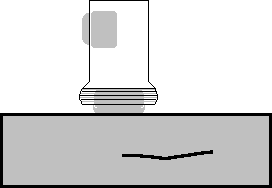
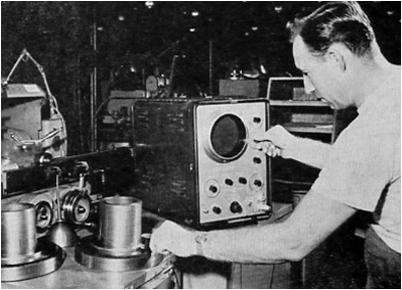 Ultrasonic test instruments have been used in industrial applications for more than sixty years. Since the 1940s, the laws of physics that govern the propagation of high frequency sound waves through solid materials have been used to detect hidden cracks, voids, porosity, and other internal discontinuities in metals, composites, plastics, and ceramics, as well as to measure thickness and analyze material properties.
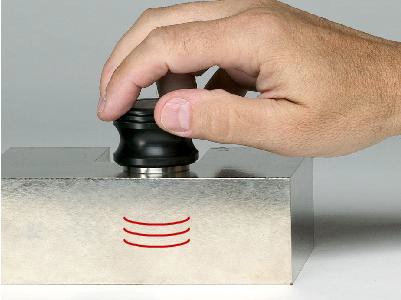
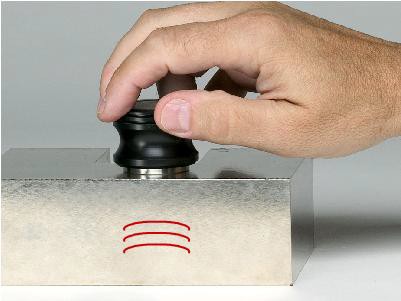
Sound waves are simply organized mechanical vibrations traveling through a medium. These waves will travel through a given medium at a specific speed or velocity, in a predictable direction, and when they encounter a boundary with a different medium they will be reflected or transmitted according to simple rules.
![]()
![]()
![]()
Conventional UT Probe Configuration
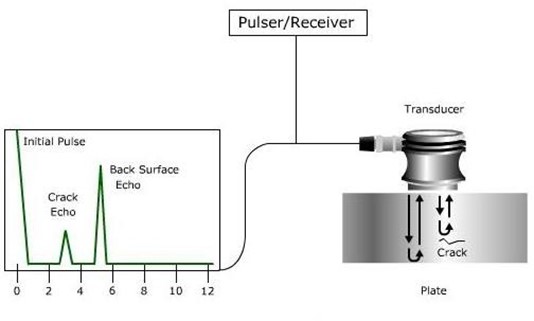
With a conventional UT probe, a single piezoelectric element converts an electrical signal into a mechanical vibration.
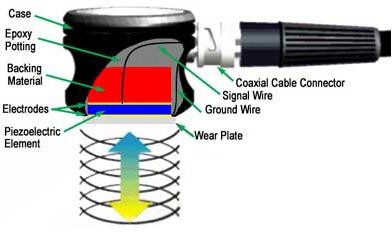
Source: NDT Resource Center (www.ndt-ed.org)
Phased Array Ultrasonic Testing (PAUT)
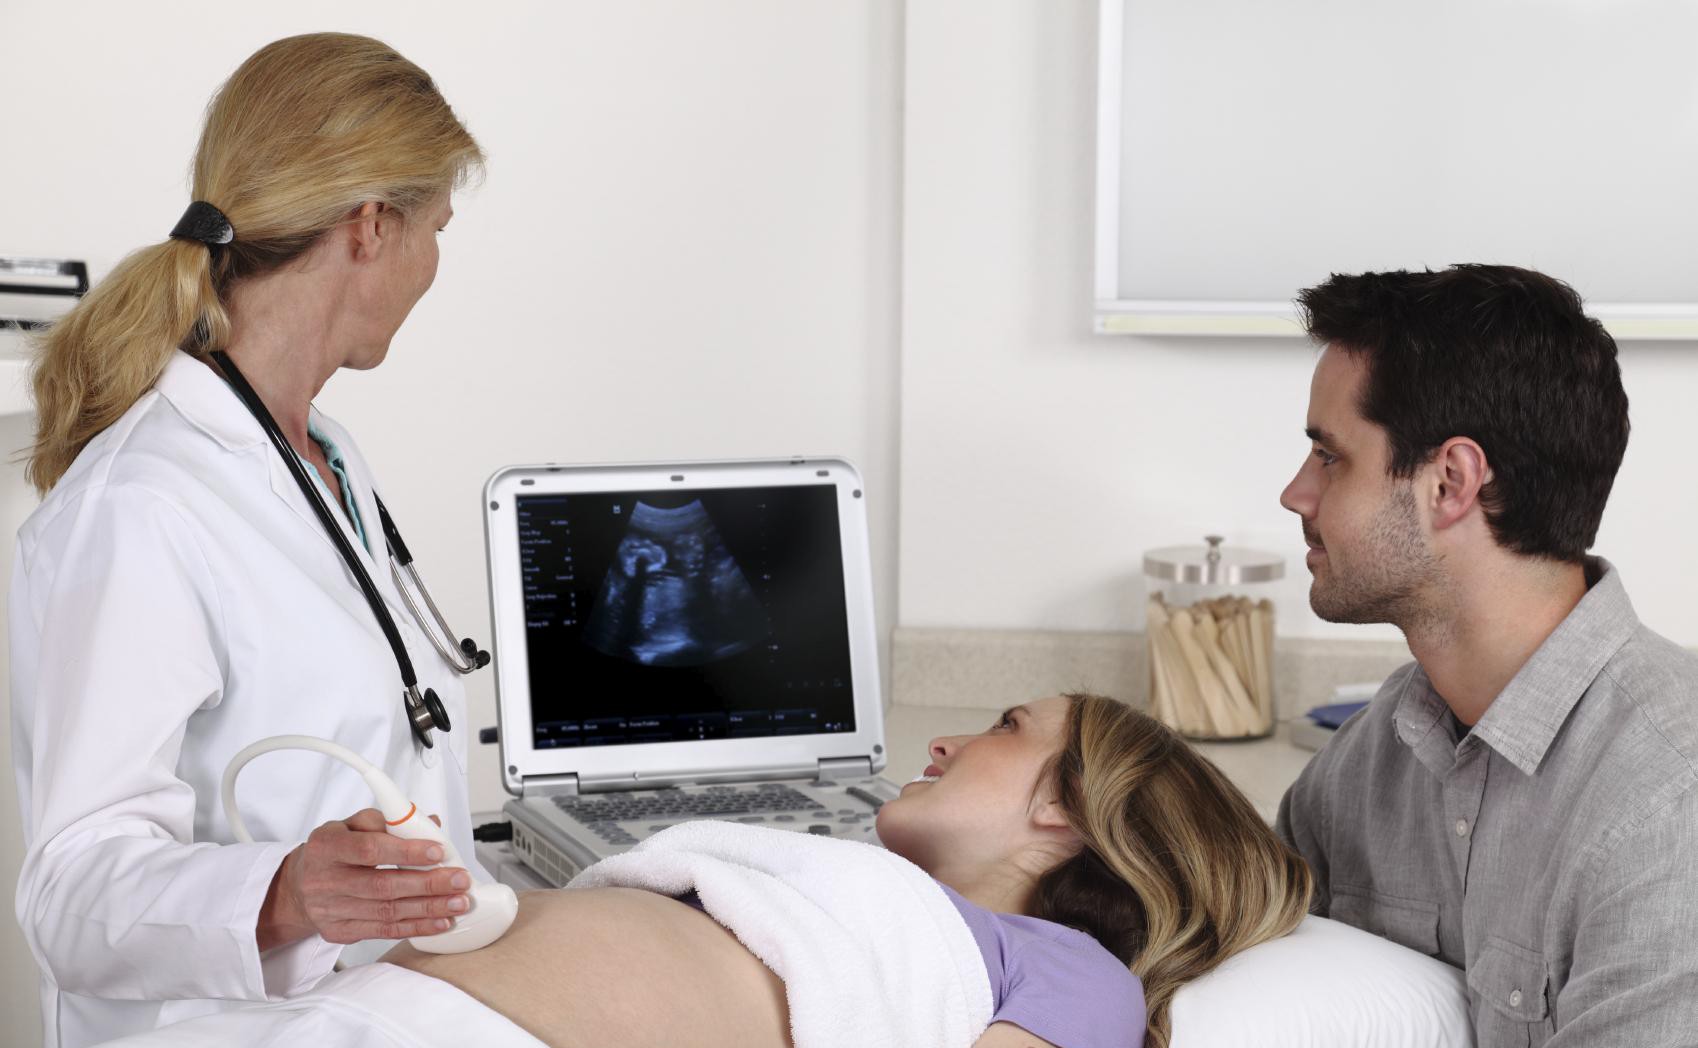
 What we see in Medical Ultrasonic Test
What is the Difference in Medical Ultrasonogram
and Phased Array Ultrasonic Test?
Nothing Special, Both are Phase Array Ultrasonic Test
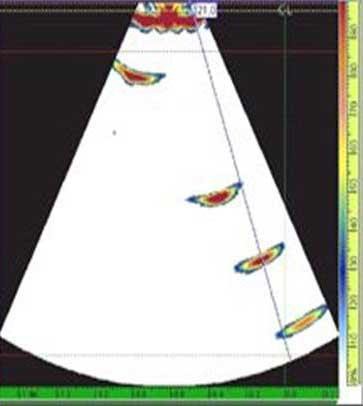
Industrial
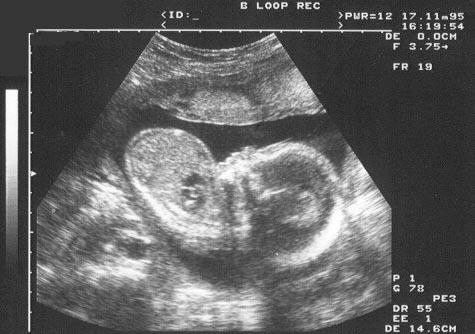
Medical
Phased Array Probe Configuration
- Essentially, a phased-array probe is a long conventional probe

cut into many small elements, which are individually excited.

12
Phased Array Probe Configuration
- It is like having many small conventional UT probes integrated inside a single probe.


…
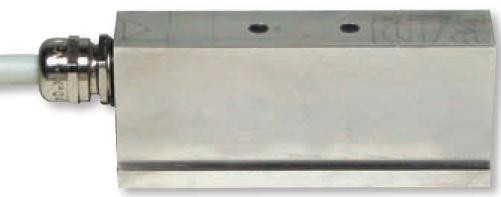
128 elements !
How Does Phased Array Work?


Phased Array Angle Coverage
Angle beam covers from angle 40o to 70o with 1o angle increment.
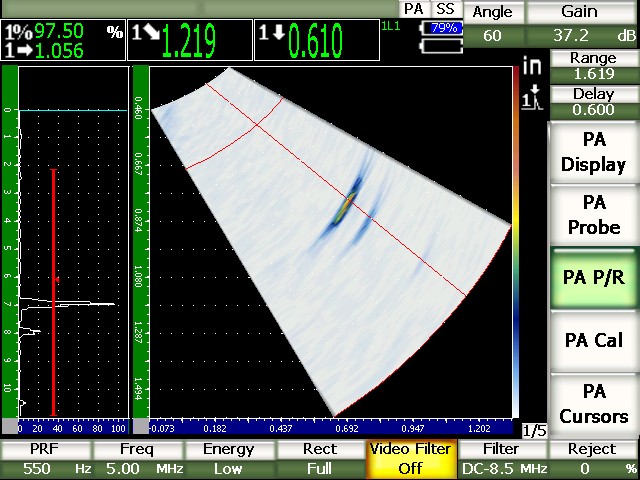
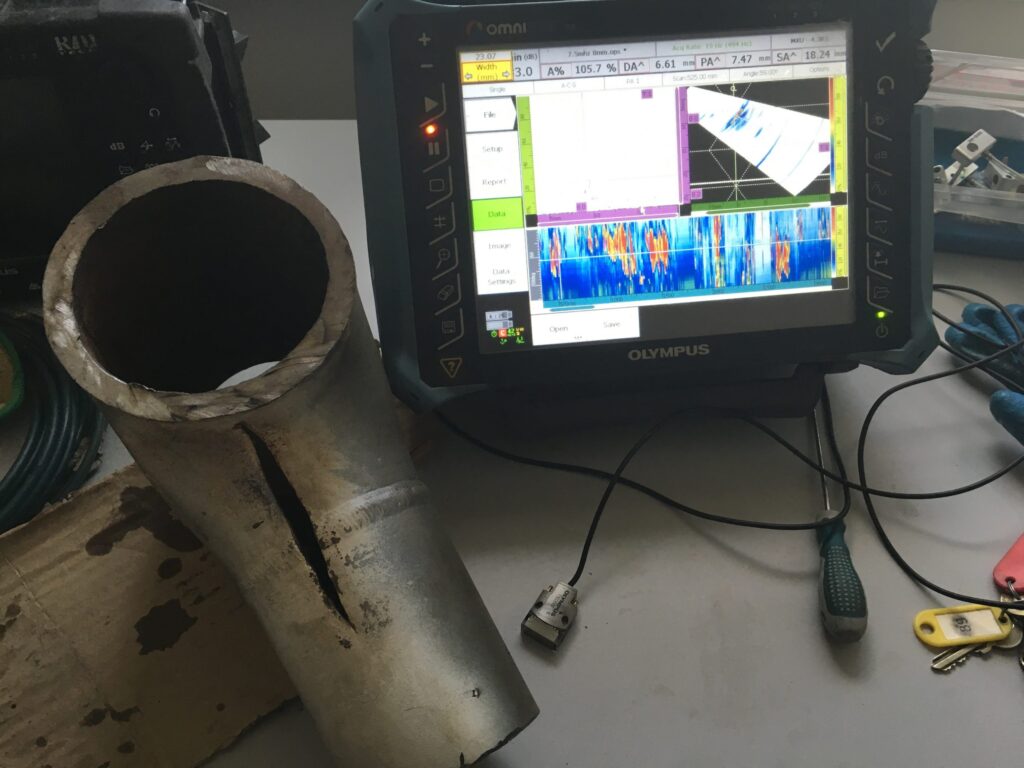
Olympus EPOCH 1000i Phased Array Equipment
EPOCH 1000i
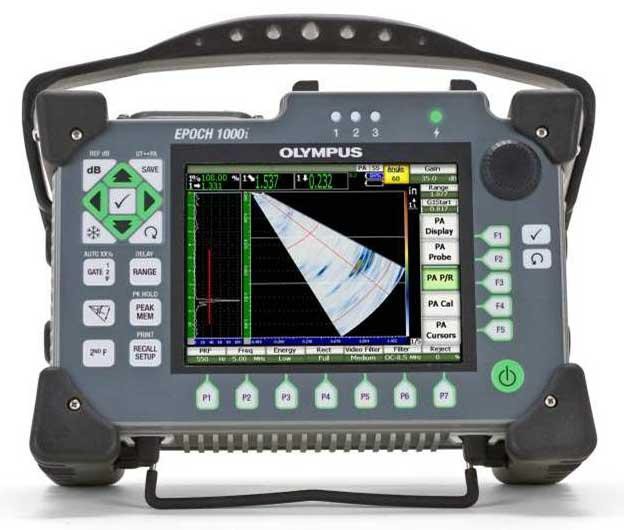
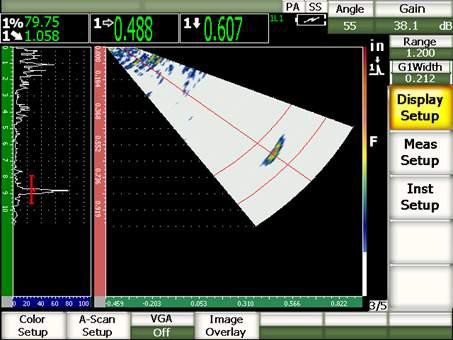
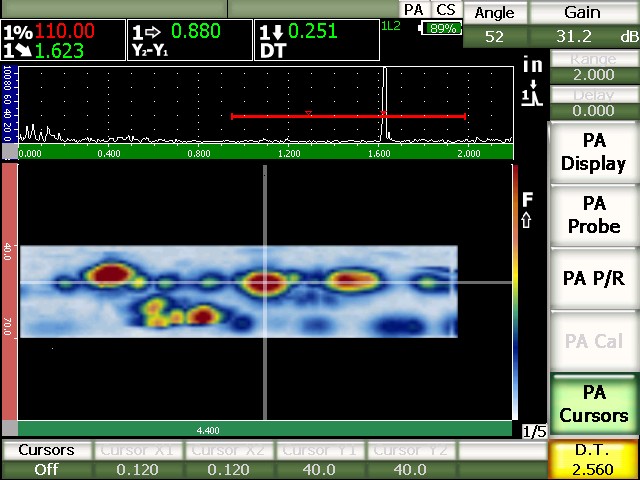
A-Scan, S-Scan and C-Scan

A-Scan
C-Scan
S-Scan
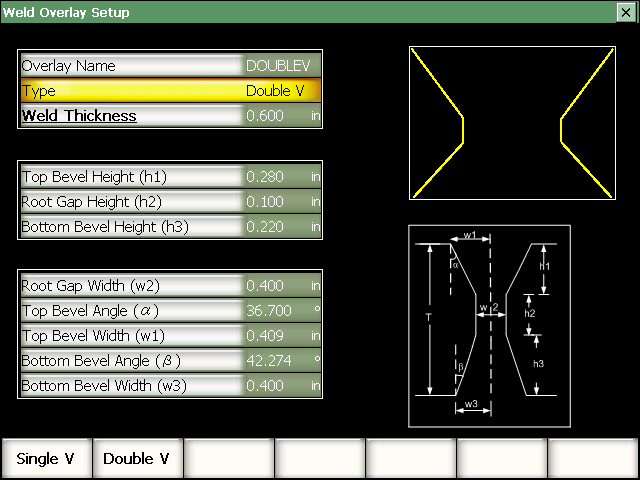
Weld Overlay System
Full weld overlay system that enables to visualize the relative position of indications in relation to the weld geometry. Easily Configure the Weld Geometry in the equipment. Such as type of weld joint, weld preparation angle, bevel height, bevel width, root gap, root face, thickness of the specimen etc.
 Defect Positioning
Defect Positioning
Defect Sizing
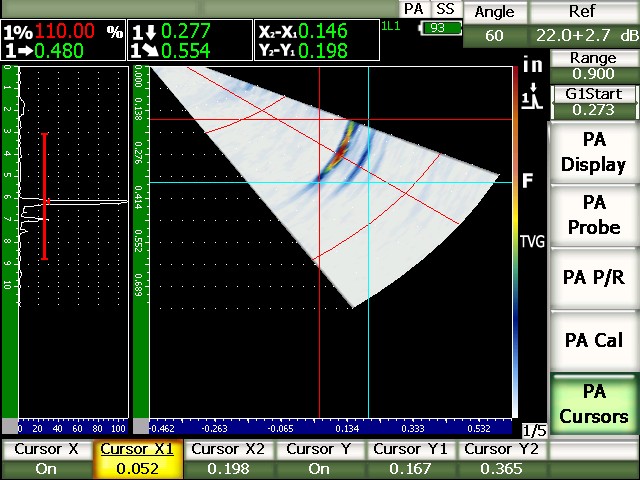
Image sizing cursors available for X2 – X1 and/or Y2 – Y1 indication sizing
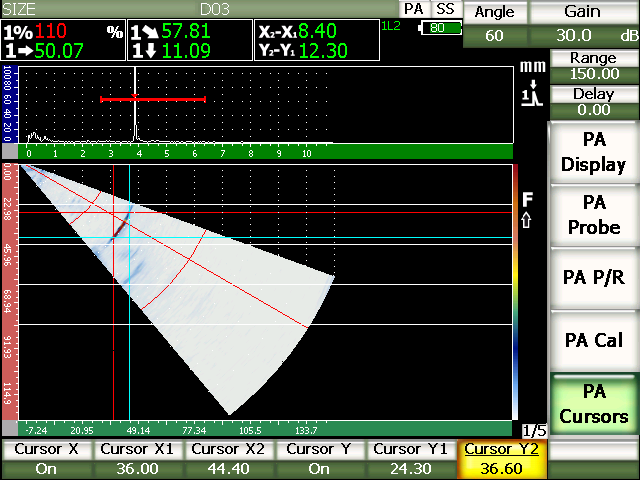
- Defect can be accurately sized
- X-direction i.e. defect length
- Y-direction i.e. defect depth
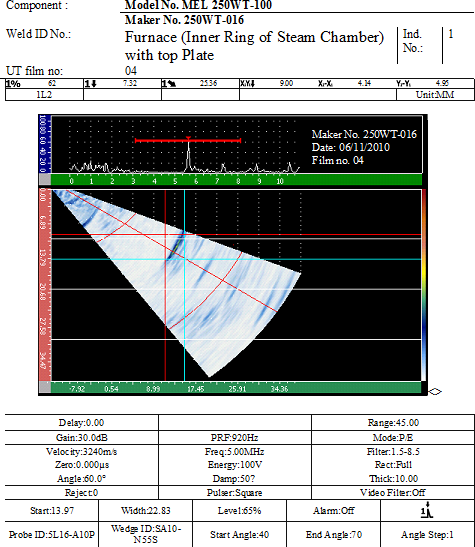 Report with complete information
Immediate report from the equipment can be transferable through pen drive.
Comparison of RT and PAUT
- Radiation safety
- Licensing
- Disruption to work area
- Chemical wastes
- Large volumes of film
- Film storage and deterioration
- Subjective interpretation
- Relatively slow inspection
- RT cannot size in vertical plane 10.RT poor at detecting planar defects.
- Phased Array Ultrasonic Testing (PAUT)
potentially offers solutions to ECA
- Capability of vertical sizing
- Better detection of critical planar defects
- Inspections tailored to weld profile and defects
- Generally PAUT has better detection than RT, especially for cracks
- Many trials performed globally
- Overall results support PAUT as better quality inspections.
- Higher licensing costs for RT
- Major headaches in shipping and storing isotopes
- Higher cost in waste disposal, storage etc.
- Cheaper PAUT Inspection Cost
- No film cost in PAUT
- No chemical cost in PAUT
- No production interruption in PAUT.
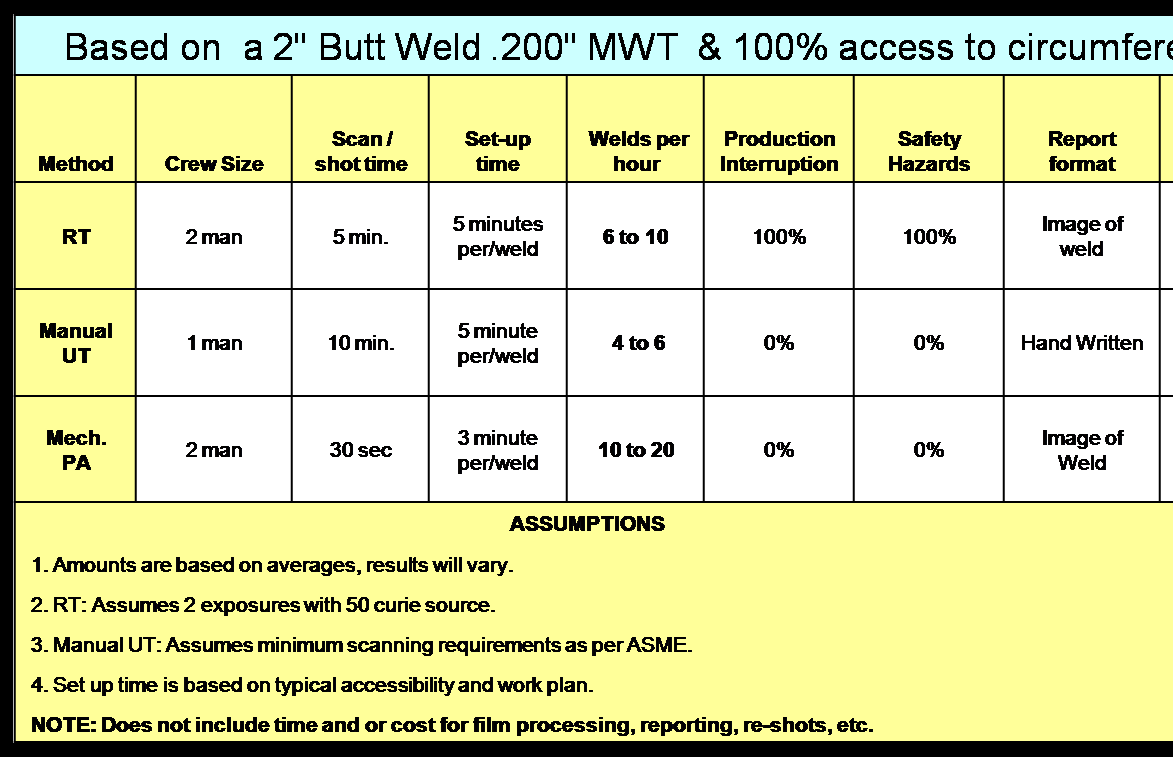
 Comparison of Scan Times between PAUT vs. RT
1 man
1 min
12 to 15
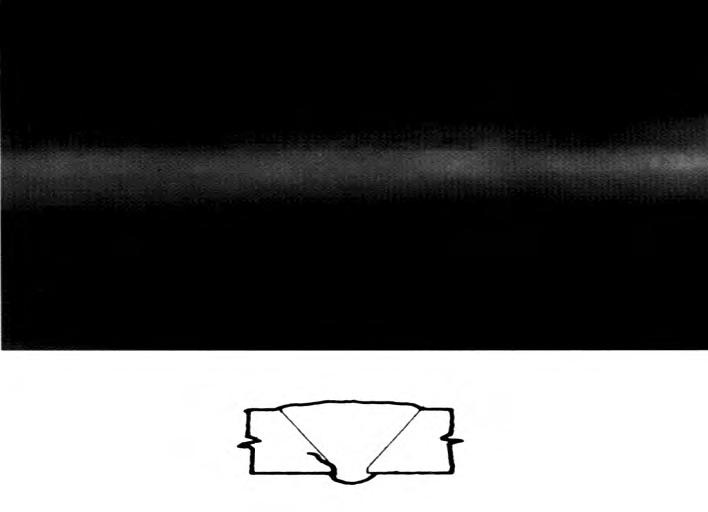
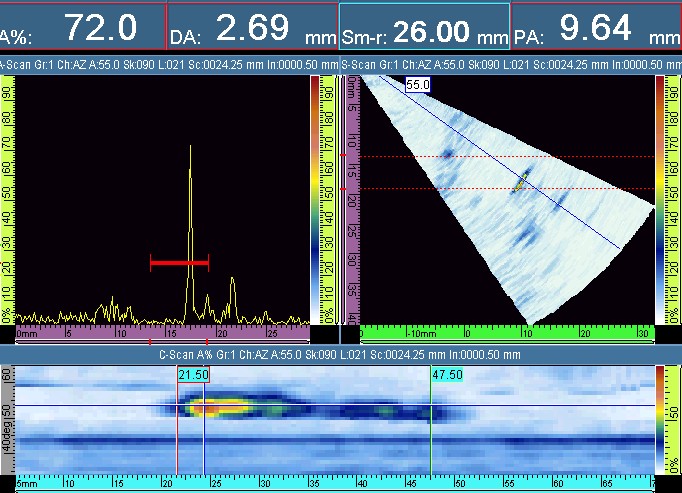
Root Crack
Phased Array Image
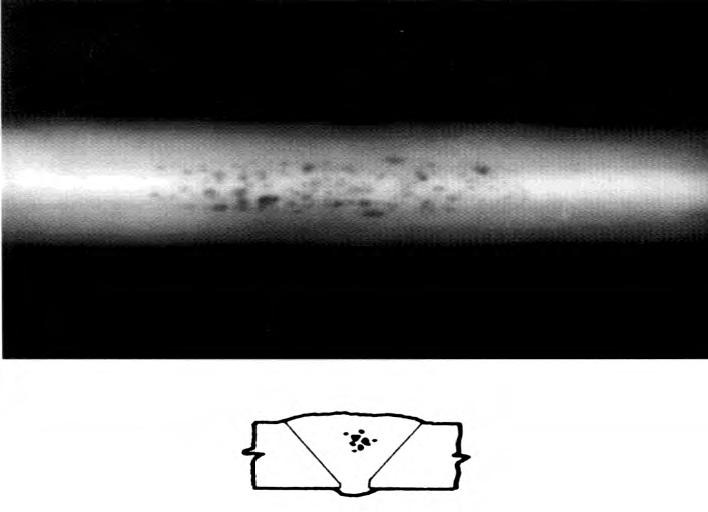
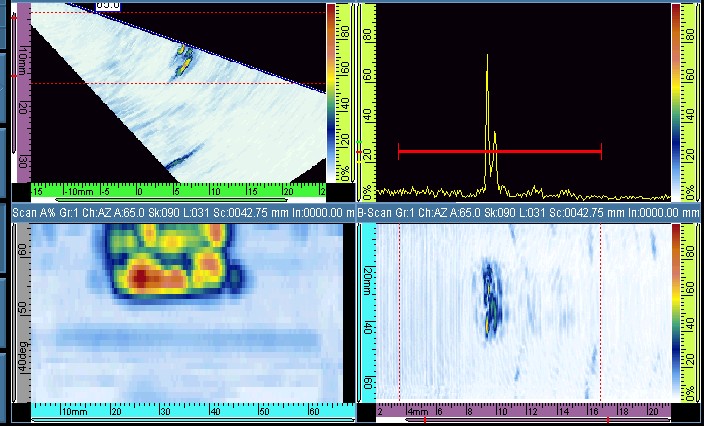
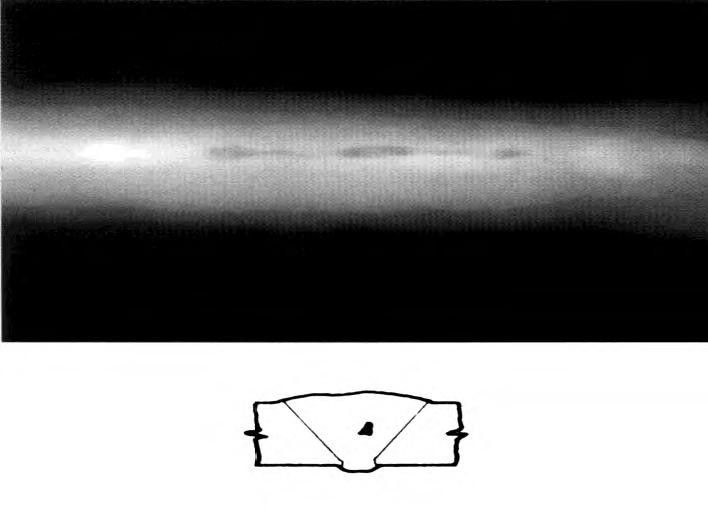
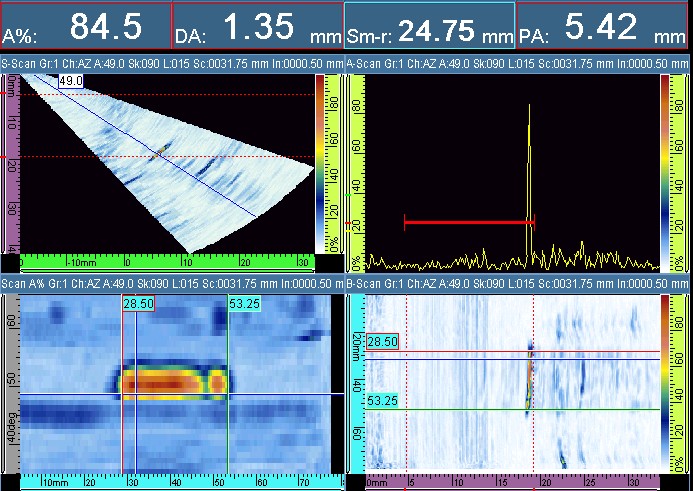
Porosity
Phased Array Image
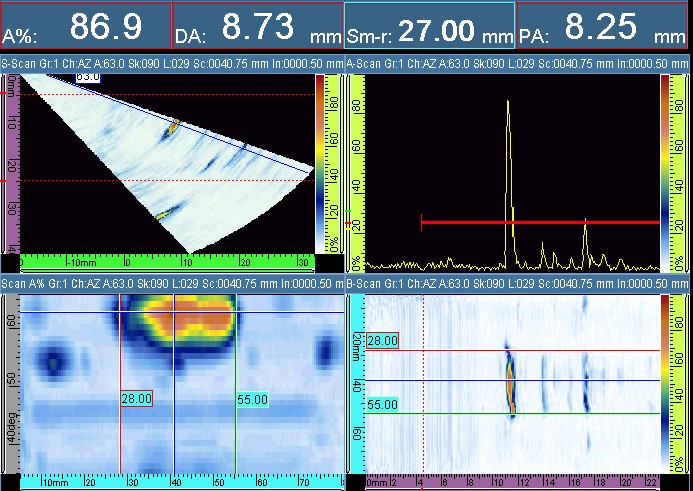
Inclusion
Phased Array Image
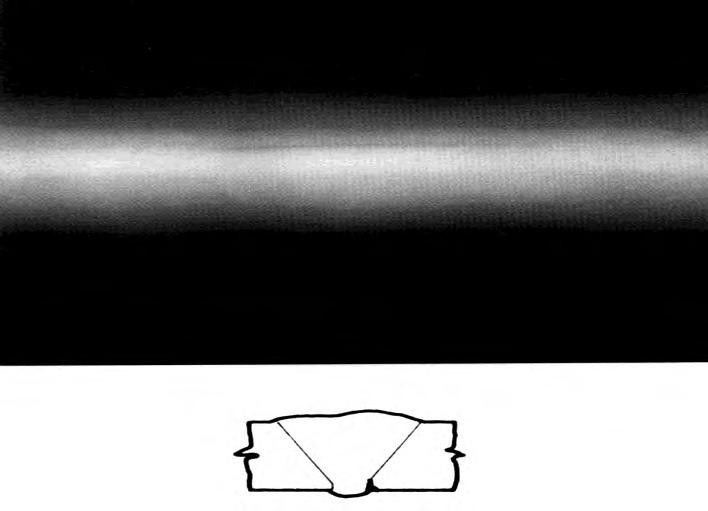
 Lack of Root Fusion
 Phased Array Image
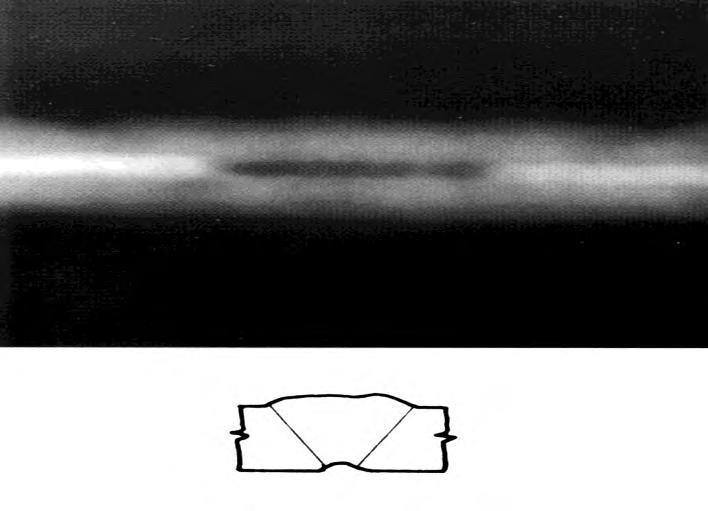

Concave of Root
Phased Array Image
PAUT vs. RT Advantages
PAUT vs. RT Advantages
- Many functional advantages from switching from
RT to PAUT.
- No radiation
- No licensing
- No chemical wastes
- Less subjective data interpretation
- Minimizes data storage problems
- Minimizes materials handling issues
- Minimizes production disruptions
- Better detection of planar defects
- Can size in vertical plane for ECA
- Lower reject rates
- Fast and cost effective
PAUT Code Updates
Codes
- ASME Code Case N- 659-2 permits Phased Array Ultrasonic Testing (PAUT) for Replacement of RT with PAUT for feeder tubes in nuclear reactor.
- ASME CC 2541 Permits Phased Array Ultrasonic Testing (PAUT) in Section V, Article 4.
- ASME CC 2235-9 permits UT in lieu of RT in Section VIII, Divisions 1 and 2.
- ASME CC 2557 permits PAUT S-Scan in Section V, Article 4.
- ASTM has published three Standard Practices: 2491, 2700, 2904
- ISO, Chinese, Japanese working on PAUT codes.
 What we see in Medical Ultrasonic Test
 Comparison of Scan Times between PAUT vs. RT
 Lack of Root Fusion


Responses