Dye Penetrant Inspection (PT) (DPI)
Public NDT
Active 2 months ago
Welcome to [NDT Inspection Portal]’s dye penetrant testing group, a place for professionals to connect... View more
Public NDT
Group Description
Welcome to [NDT Inspection Portal]’s dye penetrant testing group, a place for professionals to connect and discuss the latest techniques and technologies in dye penetrant inspection. Our member group offers a platform for sharing knowledge and best practices on dye penetrant testing and its applications in various industries. Join our community of experts from around the world and be a part of the conversation.
Reply To: Simple PT process
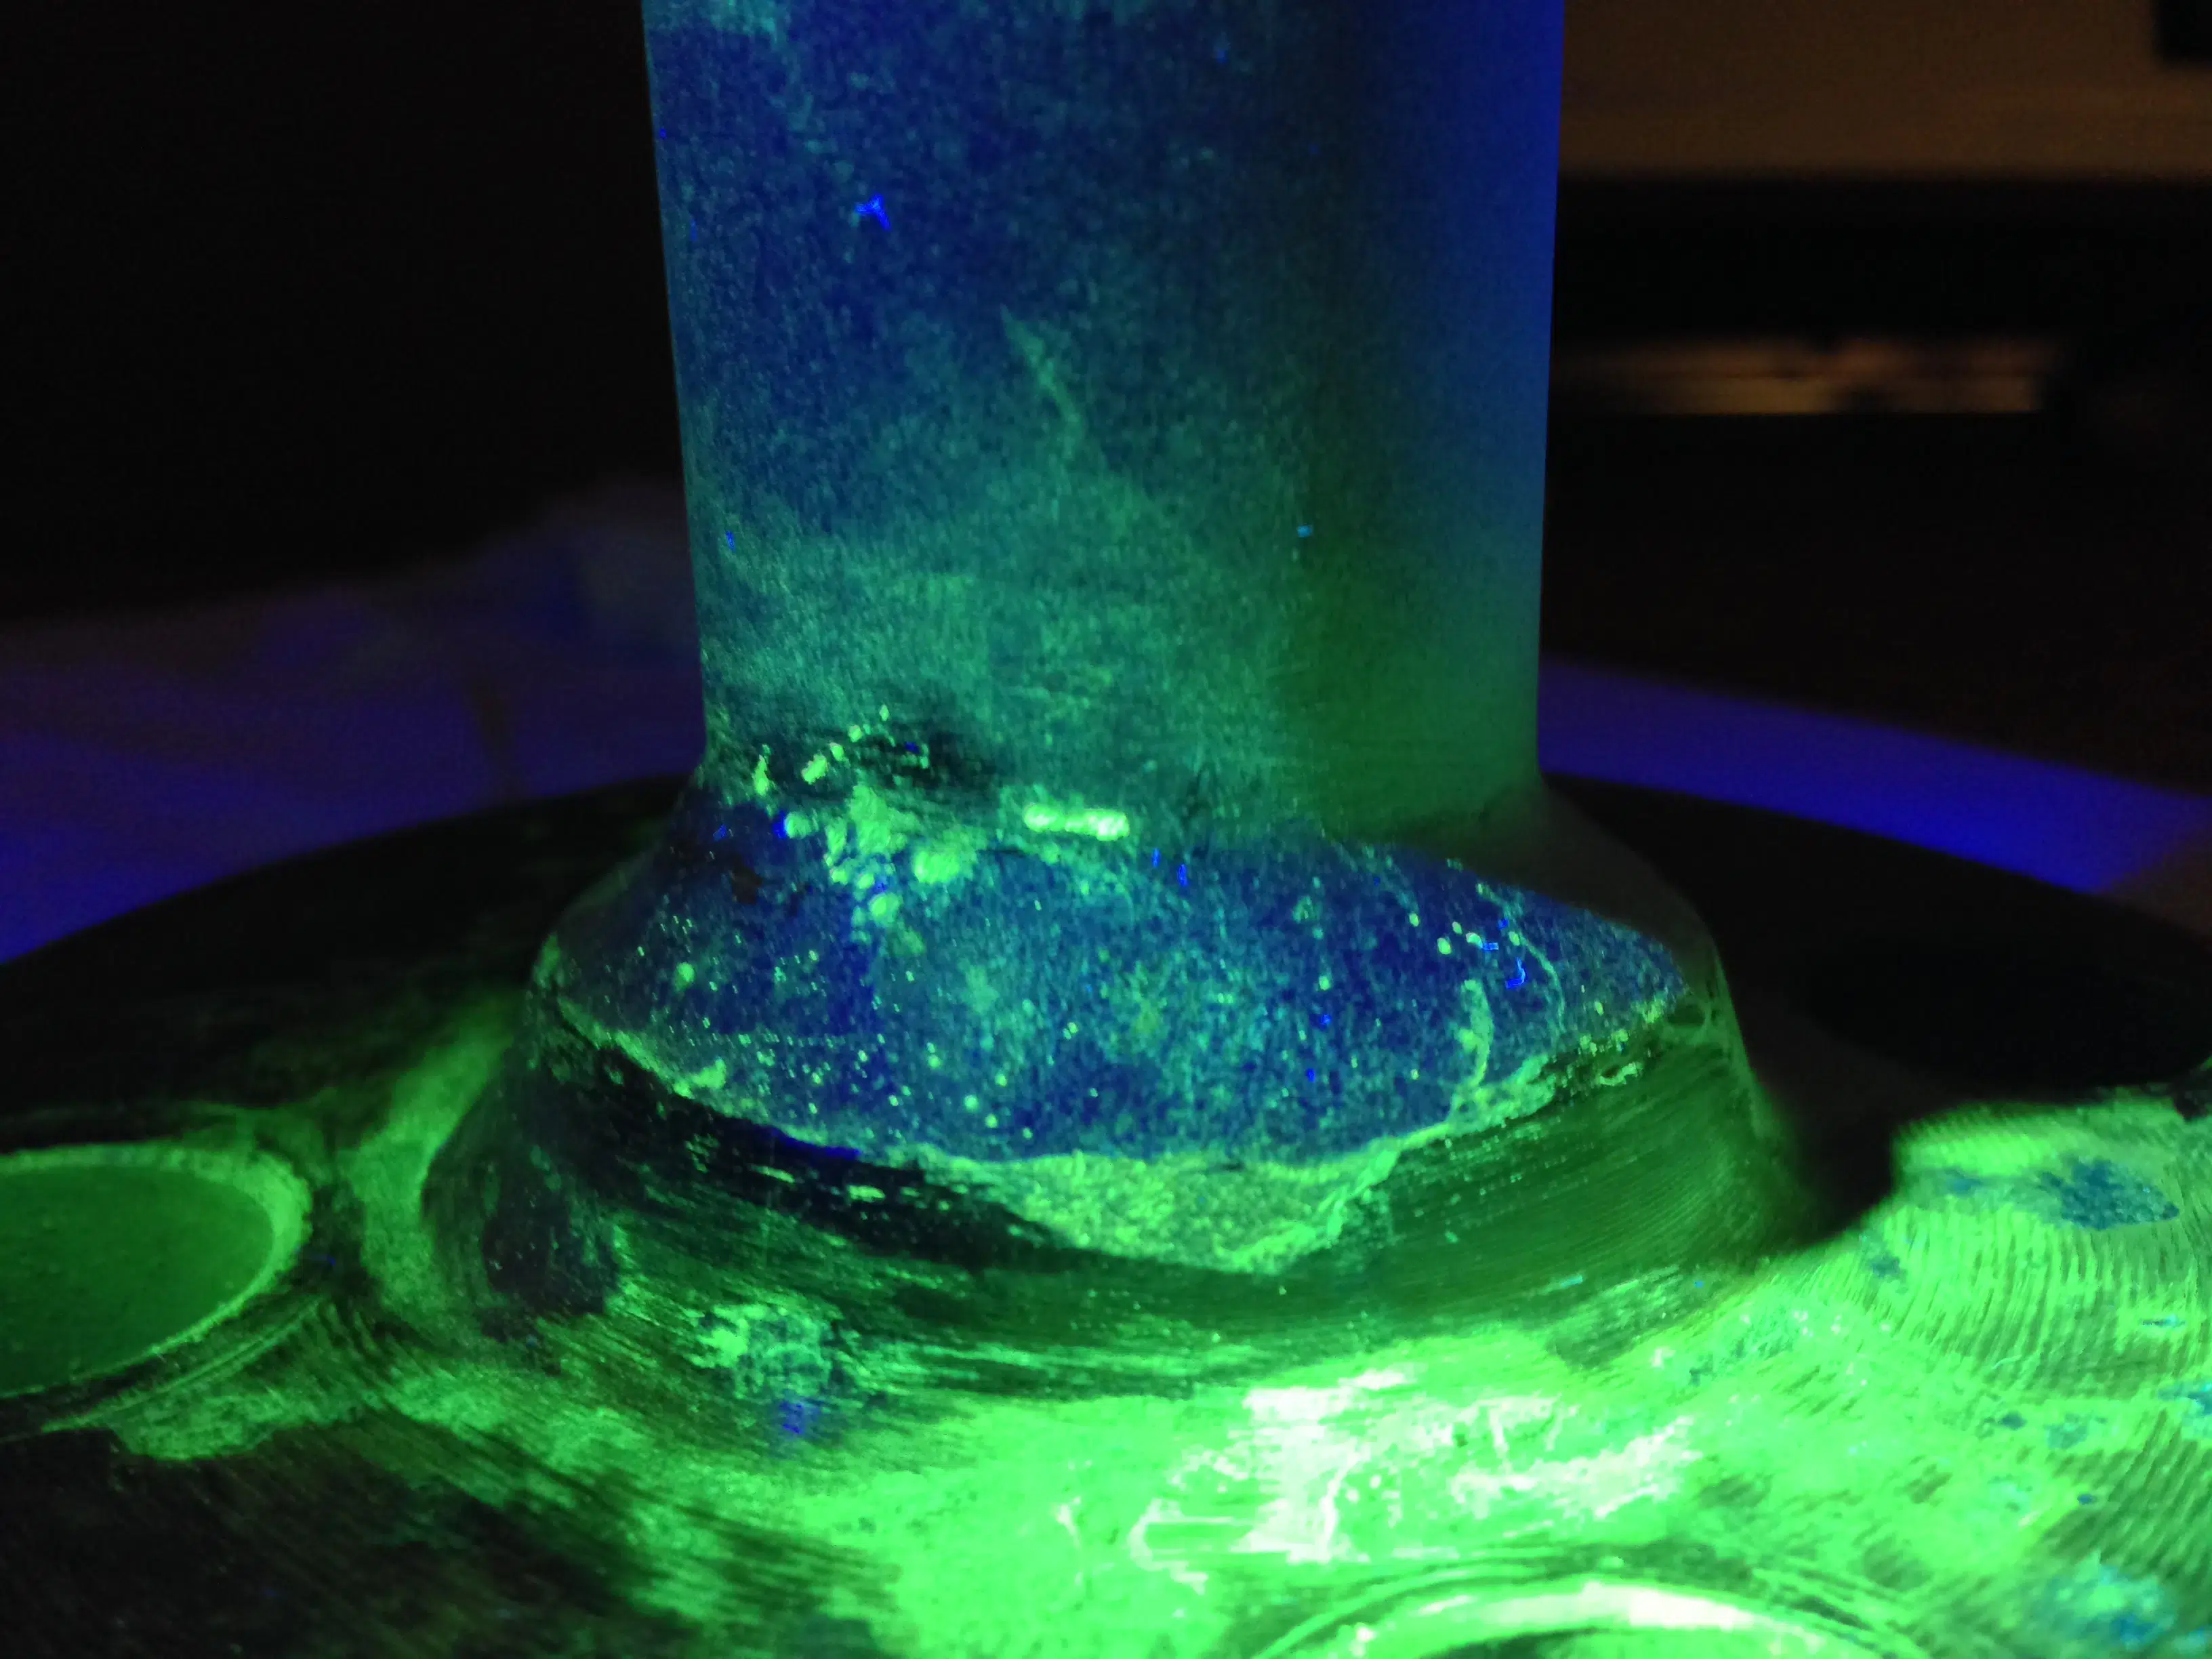
The process of performing a fluorescent penetrant inspection, also known as fluorescent liquid penetrant testing, is similar to the process for a dye penetrant inspection, but with the addition of a fluorescent dye and the use of a UV light to make the indications more visible. The steps involved in performing a fluorescent penetrant inspection are typically as follows:
Surface preparation: The surface of the test object must be clean and free of contaminants, such as dirt, oil, and grease, in order for the penetrant to be effective. The surface is usually cleaned using a solvent or detergent and then dried.
Application of penetrant: A fluorescent penetrant, which is a liquid dye that absorbs UV light and fluoresces, is applied to the surface of the test object using a brush, spray, or dip method. The penetrant is allowed to penetrate into any surface defects, such as cracks or pores, for a specified time period.
Removal of excess penetrant: Any excess penetrant is removed from the surface of the test object using a cleaner or solvent. This step is important to ensure that the penetrant remaining in the defects is clearly visible.
Application of developer: A developer is applied to the surface of the test object to draw the penetrant out of any defects and create a visible indication of the defects. The developer is allowed to dry for a specified time period.
Inspection: The surface of the test object is examined using a UV light to identify any indications of defects. The size, shape, and location of the indications are recorded and evaluated to determine the severity of the defects.