Internal Rotary Inspection (IRIS)
Public NDT
Active 5 months ago
Welcome to [NDT Inspection Portal]’s internal rotary inspection (IRIS) group, a place for professionals... View more
Public NDT
Group Description
Welcome to [NDT Inspection Portal]’s internal rotary inspection (IRIS) group, a place for professionals to connect and discuss the latest techniques and technologies in non-destructive testing using the IRIS method.
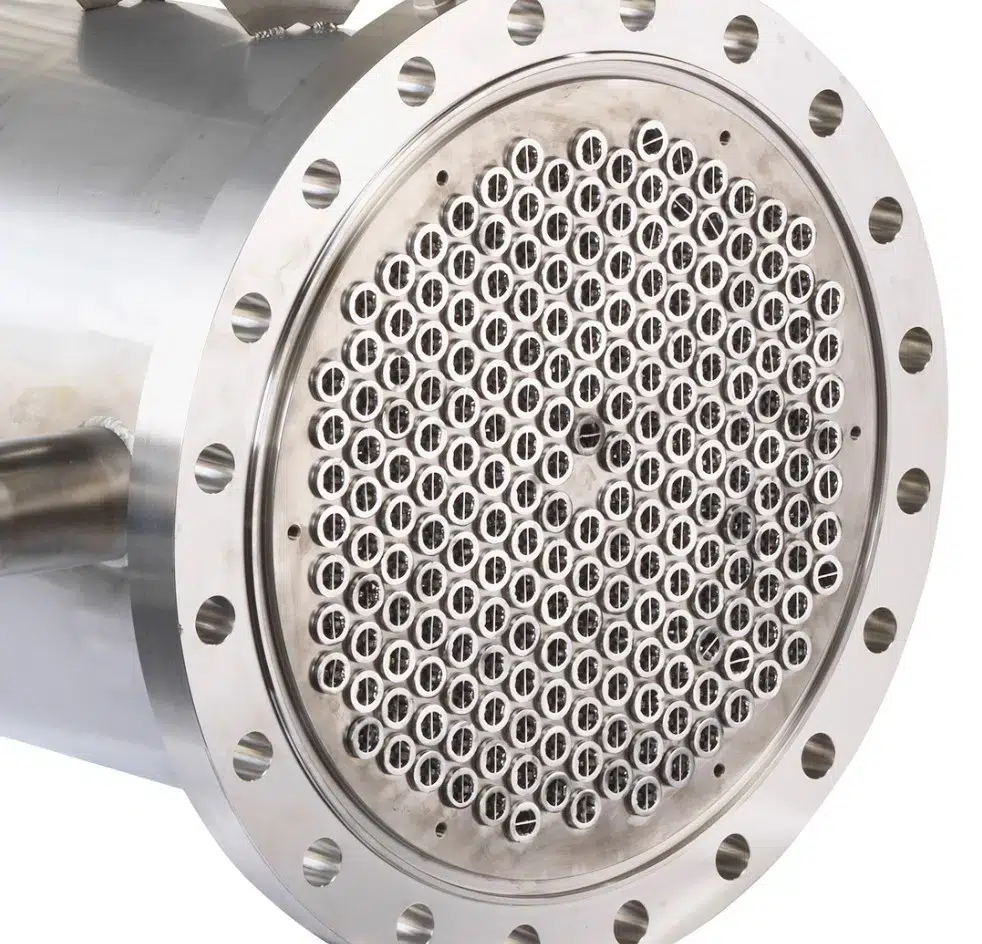
Internal Rotary Inspection System (IRIS) is a type of non-destructive testing (NDT) method used to measure the wall thickness of tubes and pipes. It is a specialized form of ultrasonic inspection that involves the use of a flexible probe with a small diameter to access the internal surfaces of the component being inspected. The probe is inserted into the component and rotated, allowing it to transmit ultrasonic waves through the material and collect data on the wall thickness of the component.
The data collected by the probe is used to accurately measure the wall thickness of the component, which is important for evaluating the structural integrity and remaining service life of the component. IRIS is commonly used in industries such as oil and gas, power generation, and aerospace, where it is important to regularly monitor the wall thickness of tubes and pipes to ensure the safety and reliability of the components.
IRIS is a relatively fast and efficient method of inspection, as it allows for the measurement of wall thickness without the need to dismantle or disassemble the component. It is also a versatile method that can be used to inspect a wide range of materials and components, including those made of metal, plastic, and composite materials.
Reply To: IRIS for copper-nickel alloy
Sound velocity is approx 4760 m/s longitudinal wave. Velocity is not the concern, later you can change manually. The main concern is your probe frequency and its focal length. Make sure the focal length of your probe is according to your tube OD. And in my point of view you should go for 20MHz and keep 15MHz as sphere. Check the result of both the probe before inspection.