Surface Eddy Current Testing
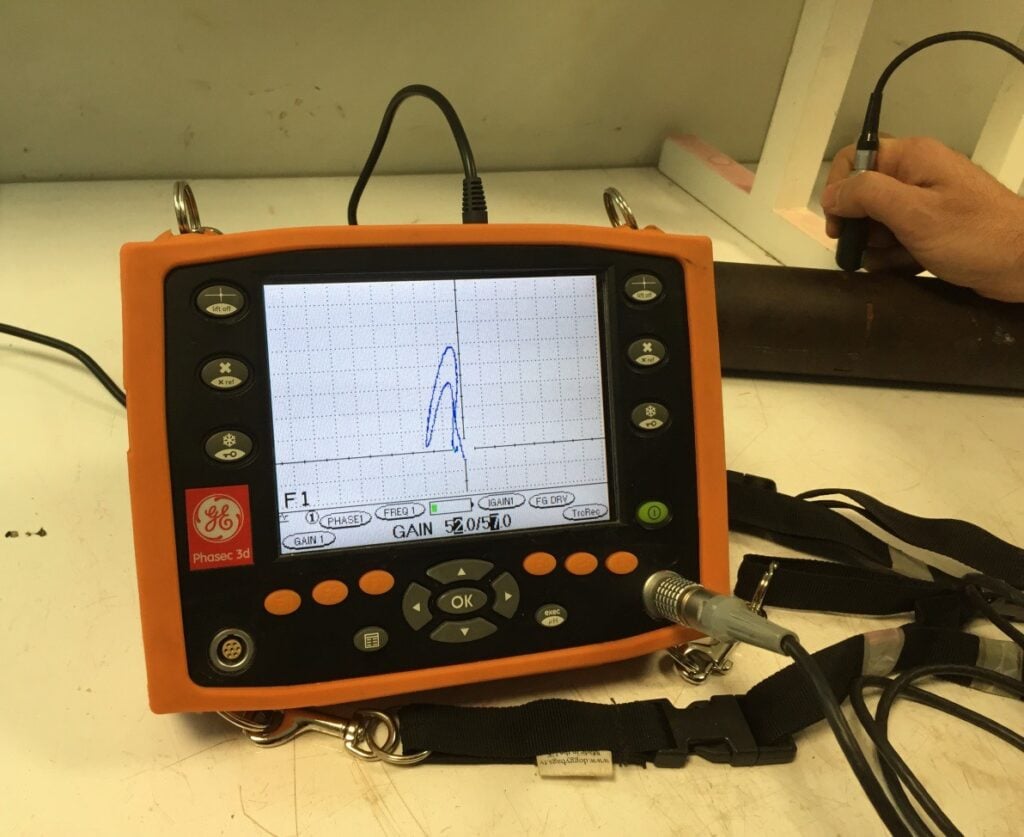
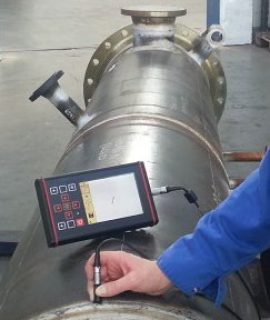
Eddy current examination is a NDT method based on the principle of electro- magnetic induction and when it is use to find surface breaking flaws in components and welds, it is knows as surface Eddy Current Testing. Specially designed surface probes are being used for this inspection. Surface probes coils typically mounted close to one end of a plastic housing. Technician moves the coil end of the probe over the surface of the test component during inspection.
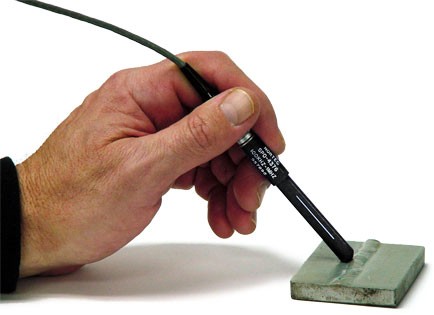
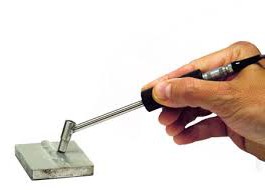
Crack Detection Principle
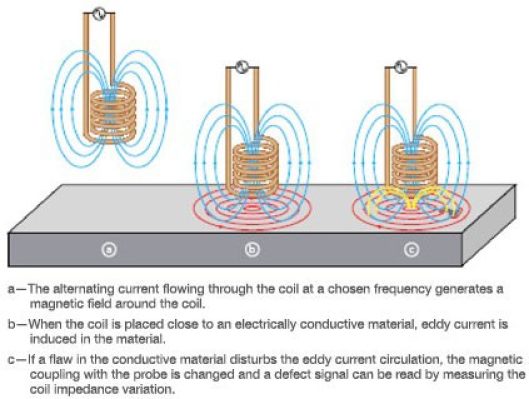 Defects such as cracks are detected when they disrupt the path of eddy currents and weaken their strength. A knowledge of probable defect type, position, and orientation is highly helpful in surface EC testing
Test Equipment
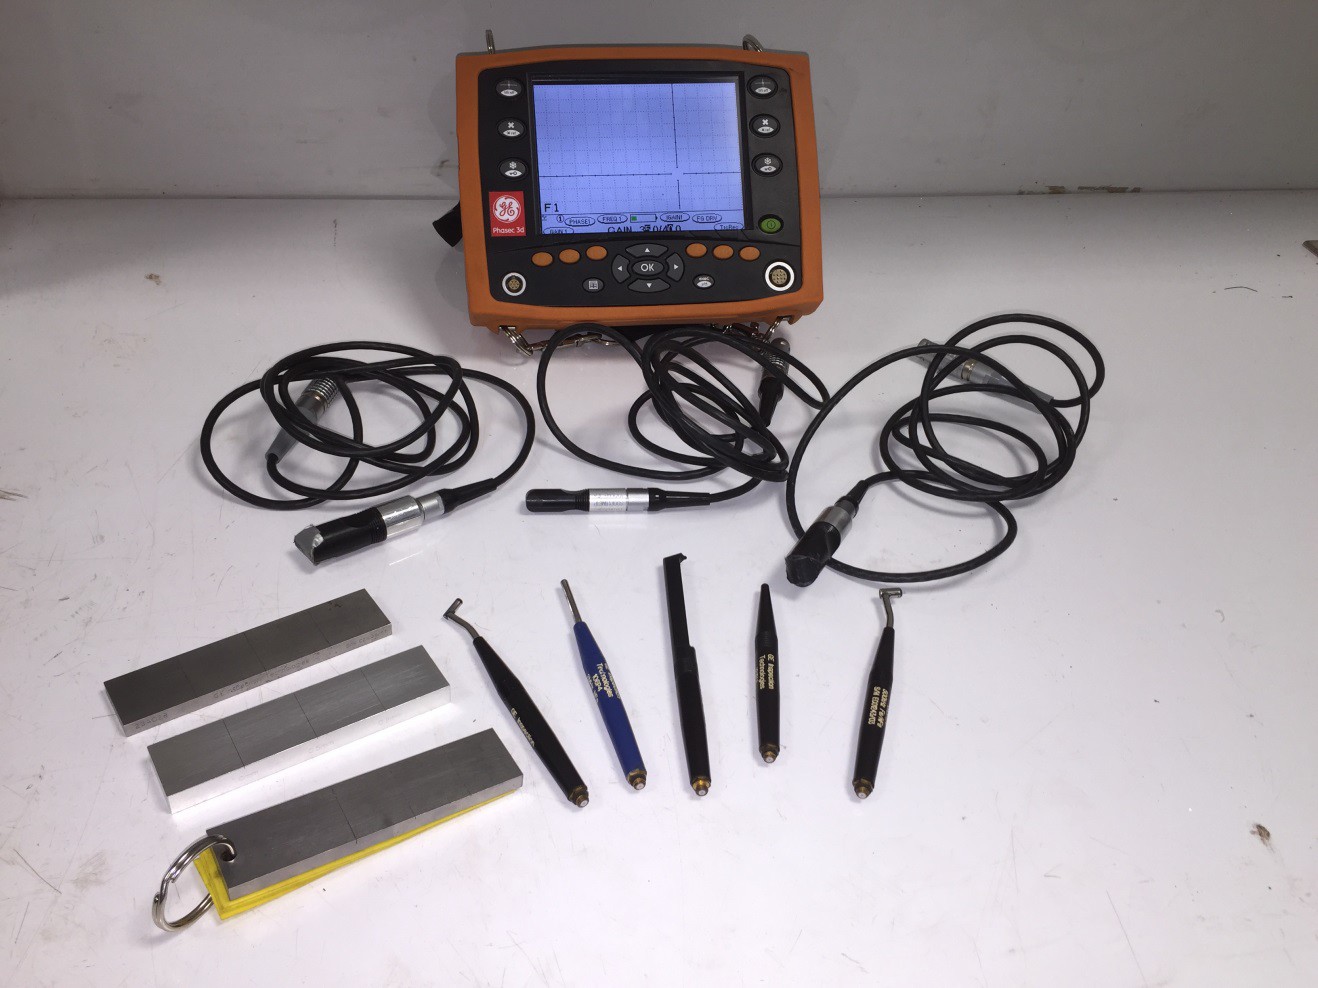
Three basic pieces of equipment are required for this inspection:
Instrumentation: Multi frequency digital units are used
Probes: Surface probes are coils typically mounted close to one end of a plastic housing. Selection of probes are available for specific use
Reference standards: In order to give the eddy current inspector useful data while conducting an inspection, signals generated from the test specimen must be compared with known values. Reference standards are typically manufactured from the same or very similar material as the test specimen.
Test Parameters
Selection of proper probe: The probe should fit the geometry of the part and the coil must produce eddy currents that will be disrupted by the flaw.
Selection of a reasonable probe drive frequency: For surface flaws, the frequency should be as high as possible for maximum resolution and high sensitivity. For subsurface flaws, lower frequencies are necessary to get the required depth of penetration and this results in less sensitivity. Ferromagnetic or highly conductive materials require the use of an even lower frequency to arrive at some level of penetration.
Calibration of set-up using Reference standard: An eddy current system consisting of an instrument and a probe must always be calibrated with appropriate reference standards at the start of a test. This process involves identifying the baseline display from a given test piece and observing how it changes under the conditions that the test is intended to identify. In flaw detection applications, this calibration process typically involves the use of reference standards of the same material, shape, and size as the test piece, containing artificial defects such as EDM notches, drilled holes, or milled walls to simulate flaws. The operator observes the response from the reference standards and then compares the indications from test pieces to these reference patterns to categorize parts. Proper calibration with appropriate reference standards is an essential part of any eddy current test procedure
Test Procedure
The basic steps in performing an inspection with a surface probe are the following:
Advantages of Surface Eddy Current Testing
Limitations of Surface Eddy Current Testing
Surface ECT equipment/probes/calibration standards



Responses