Internal Rotary Inspection (IRIS)
Welcome to [NDT Inspection Portal]’s internal rotary inspection (IRIS) group, a place for professionals... View more
features of IRIS
features of IRIS
features of IRIS
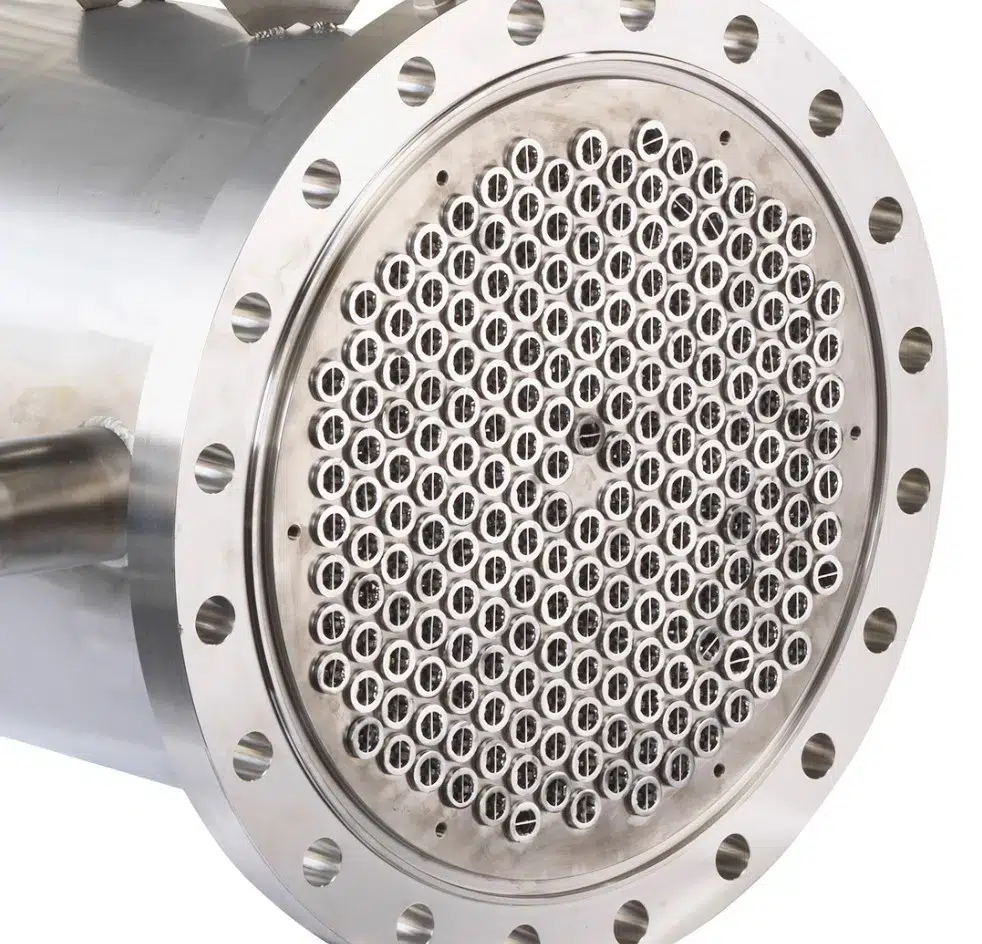
• Field-proven and commonly used in boilers, heat exchangers, and fin-fan tubes.
• Often used as a back-up to electromagnetic examination of tubes, to verify calibration and accuracy. Especially useful as a follow-up to remote field testing due to the full sensitivity near tube support structures provided by IRIS.
• The IRIS probe must be moved very slowly (approximately 1 inch per second, or 2.5 cm/s), but it produces very accurate results (wall thickness measurements typically accurate to within 0.005 inch, or 0.13 mm).
• Before the examination, tubes must be cleaned on the inside to bare metal.
• A supply of clean water is needed, typically at a pressure of 60 psi, or 0.4 MPa. Dirt or debris in the water may cause the turbine to jam.
• Works for tube diameters of ½ inch (13 mm) and up. Special centralizing devices are needed for larger diameters.
• Works in metal or plastic tubes.
• Through-holes are difficult to detect by using this method.
• Operates at temperatures above freezing.
• Can pass bends, but will not detect defects in bends.
• Not sensitive to cracks aligned with tube radius.
Sorry, there were no replies found.
Log in to reply.