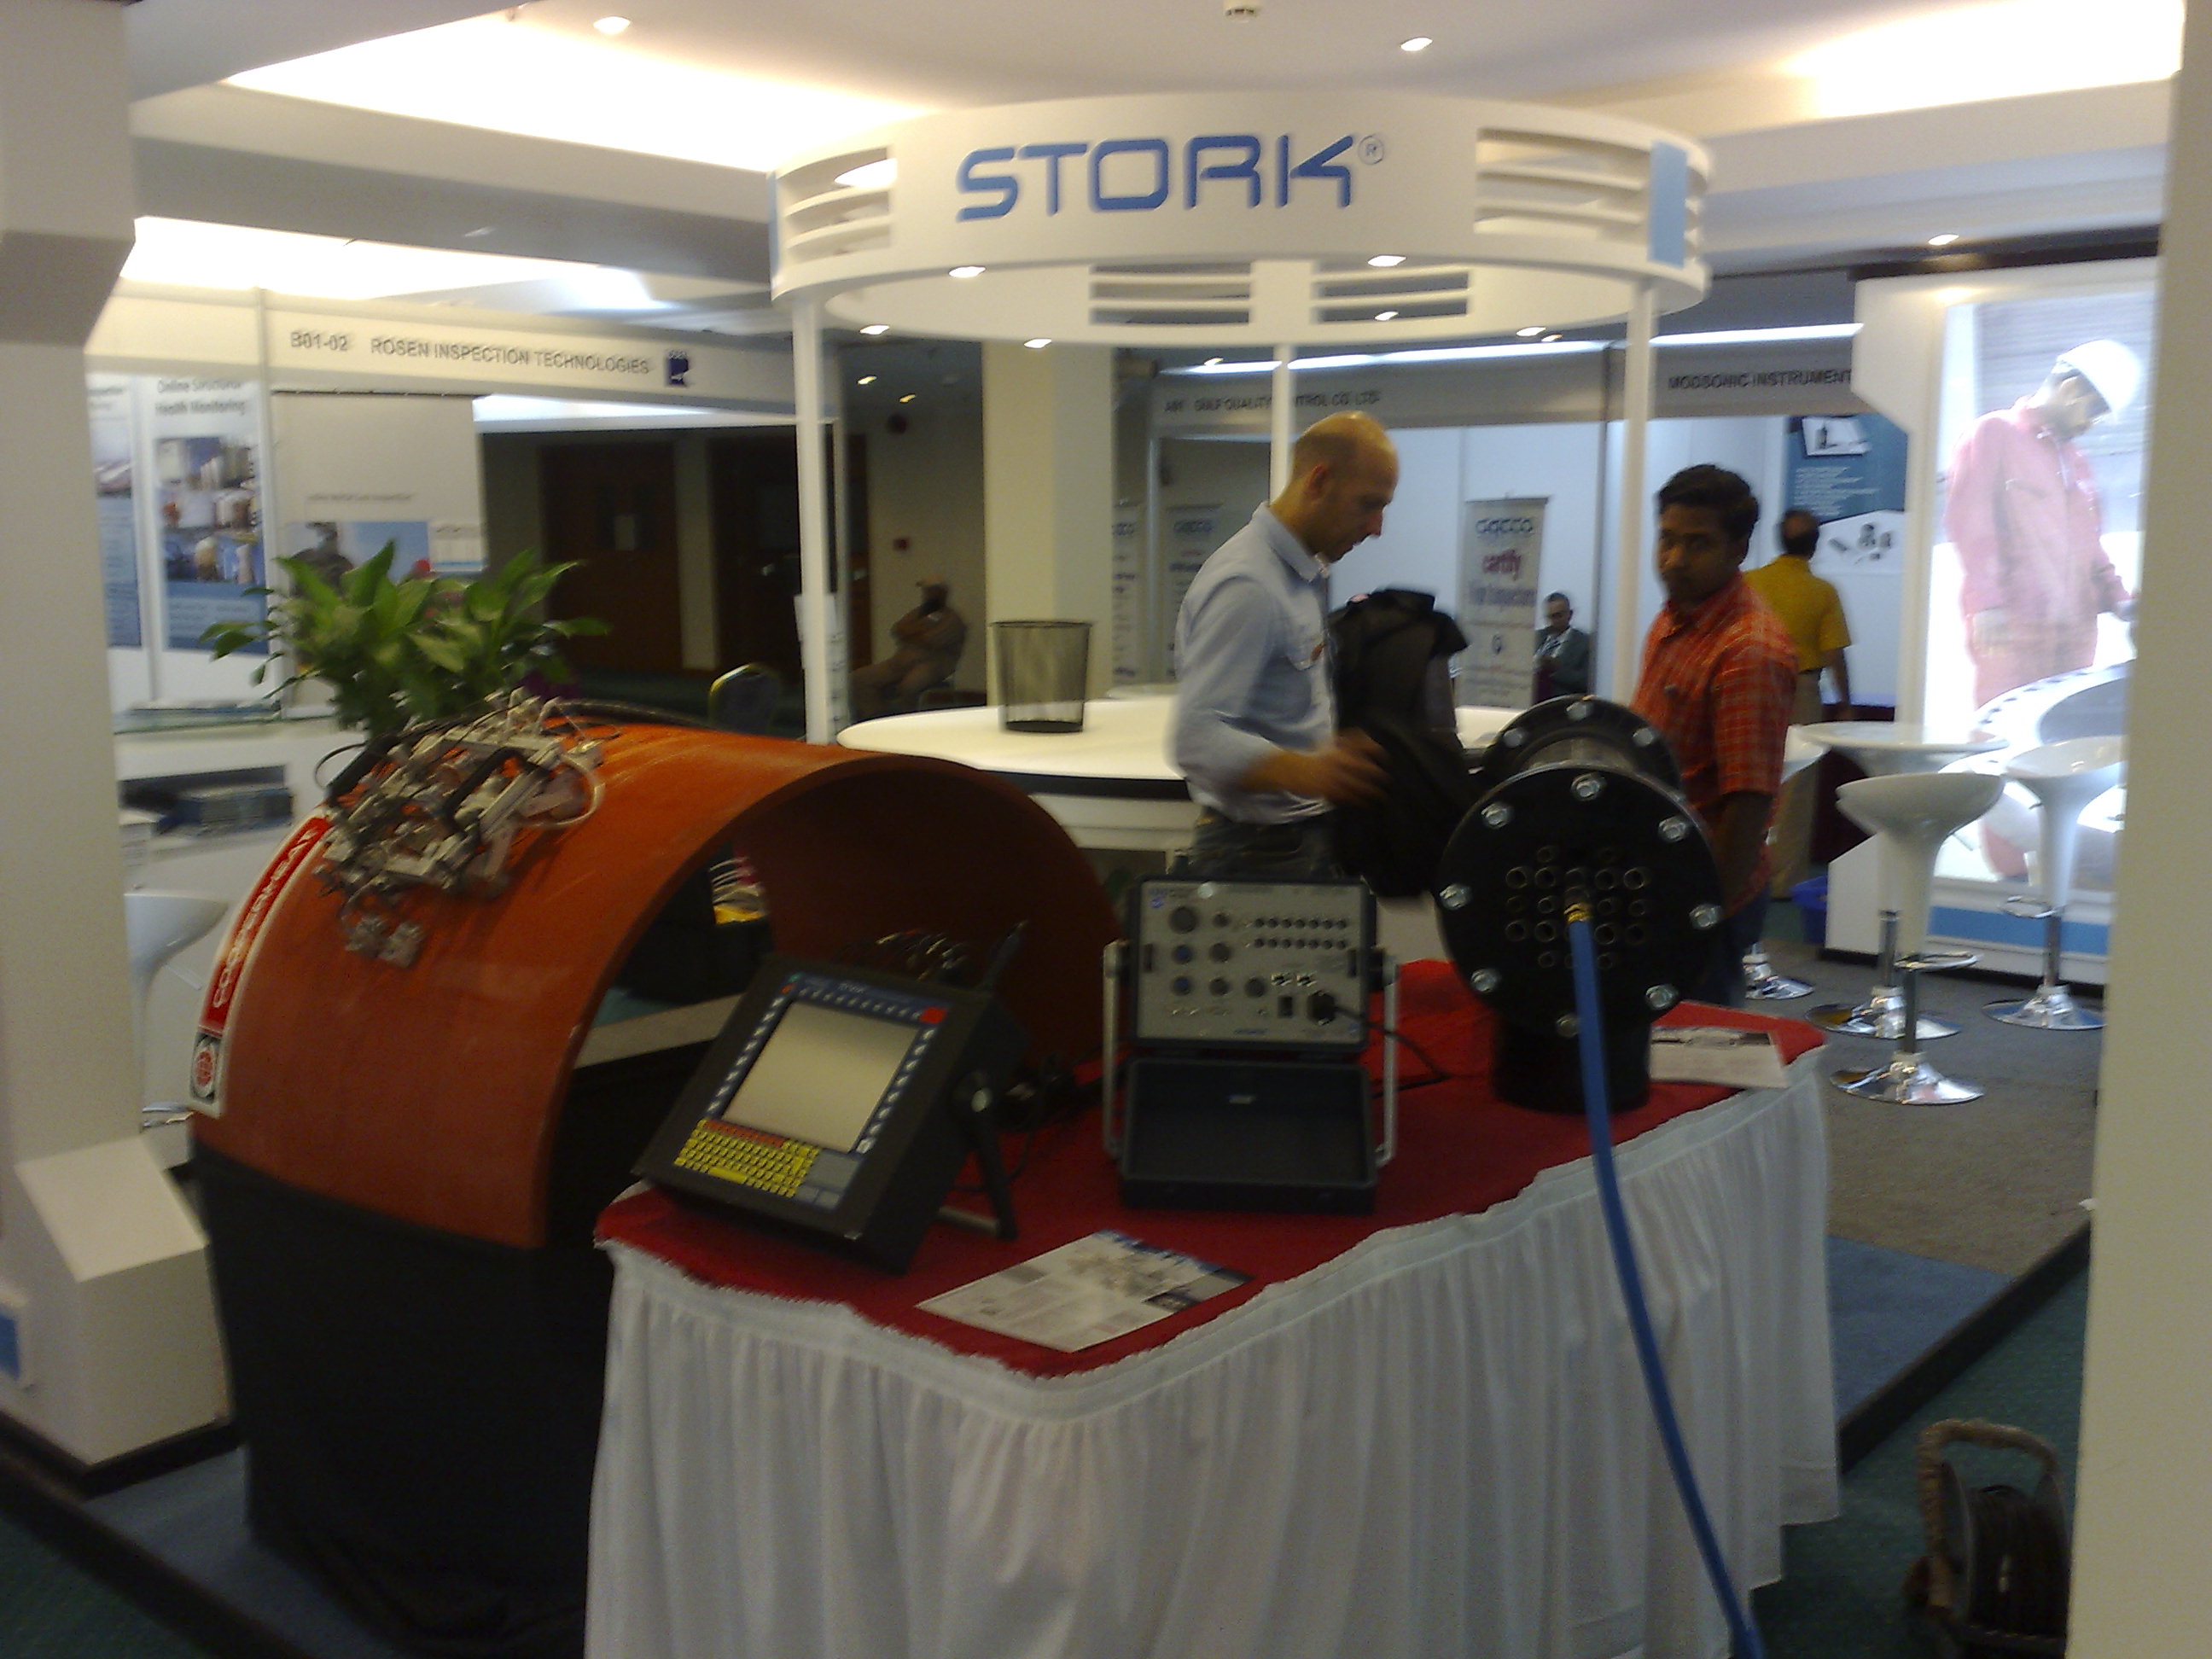
Product Exhibition
This group is reserved for Company Members new and old product exhibition.
ISONIC 3510
ISONIC 3510
ISONIC 3510
Very Powerful Superior Performance Extremely Portable Smart Phased Array Ultrasonic Flaw Detector and Recorder with 2 Additional Channels for Conventional UT / TOFDDesigned and built under the drive for improved detection, productivity, and reducing of inspection cost ISONIC 3510 uniquelly resolves the well-known nowadays challenges faced by NDT and QA management such as increasing of nomenclature and complexity of inspections combined with more demanding codes, standards, and norms along with significant loss of domain expertise
ISONIC 3510 carries the application based smart platform for the regular and advanced ultrasonic testing delivering
5 inspection modalities – PA, TOFD, CHIME, SRUT GW, conventional UT and a combination of themoutstanding ultrasonic performance and probability of detectionbuilt-in image guided scan plan creator (ray tracer) for the numerous types of simple and complex geometry welds, shafts, bolts, spindles, composite profiles, and the likesimplicity and intuitiveness of operation and data interpretationrapidness in the creation of the new inspection solutions and procedureseasily expandable on-board solutions basereduced training time and costcomprehensiveness of automatically created inspection reports
The optimal suitability of ISONIC 3510 for resolving of the huge variety of inspection tasks for all industries and processes involving ultrasonic NDT are strongly backed by the above listed features and technical particulars and specs belowFlaw Detection and Thickness / Corrosion MappingTrue-To-Geometry Volume Overlay and 3D Coverage and Imaging for:Butt Welds (Planar and Circumferential) withSymmetrical or Asymmetrical Bevel or UnbeveledEquivalent or Different Thickness of Jointed PartsLongitudinal WeldsFillet, Tee-, and TKY- Welds – Flat and Curved PartsCorner and Nozzle WeldsOpen Corner and Edge WeldsLap JointsElbow and Transit WeldsSimple and Complex Geometry Solid and Hollow Shafts and AxlesDrill Rods, Bridge Hanger Pins, BoltsTurbine BladesFlat and Curved Carbon Fiber, Glass Fiber, Honeycombs Parts Including Corners and Radius AreasetcTOFDCHIME (Creeping & Head Wave Inspection Technique)SRUT GW (Short Range Guided Wave)Operating 1 or 2 PA Probes Simultaneously: No External Splitter RequiredVersatile Fully Parallel PA Functionality Out of the Same Unit:1 X 16:162 X 16:161 X 32:322 X 32:321 X 64:642 X 64:641 X 128:128Freely Adjustable Emitting and Receiving ApertureTesting Integrity:100% Raw Data CapturingEquPAS – Equalized (Homogenized) Phased Array Ultrasonic Testing Sensitivity Over Entire Scan PlanScanning Performance Monitoring, On-Line Displaying, and RecordingQuantitative Scanning Integrity ReportLive FMC/TFMFD B-Scan (Frequency Domain B-Scan) – Ultrasonic SpectroscopyVAUT – Video Aided UTAugmented reality PAUT (AR PAUT) – live ultrasonic images embedded into video stream data in real timeGPSAutomatic Finding, Sizing, Alarming, and Reporting of the DefectsIntuitive User InterfaceUT over IP: Remote Control, Observation of the Indications, Data Acquisition through LAN, Internet, Intranet, 3,4,5Gand much more…
Sorry, there were no replies found.
Log in to reply.