Phased Array Ultrasonics (PAUT)
Welcome to [NDT Inspection Portal]’s phased array ultrasonics (PAUT) group, a place for professionals... View more
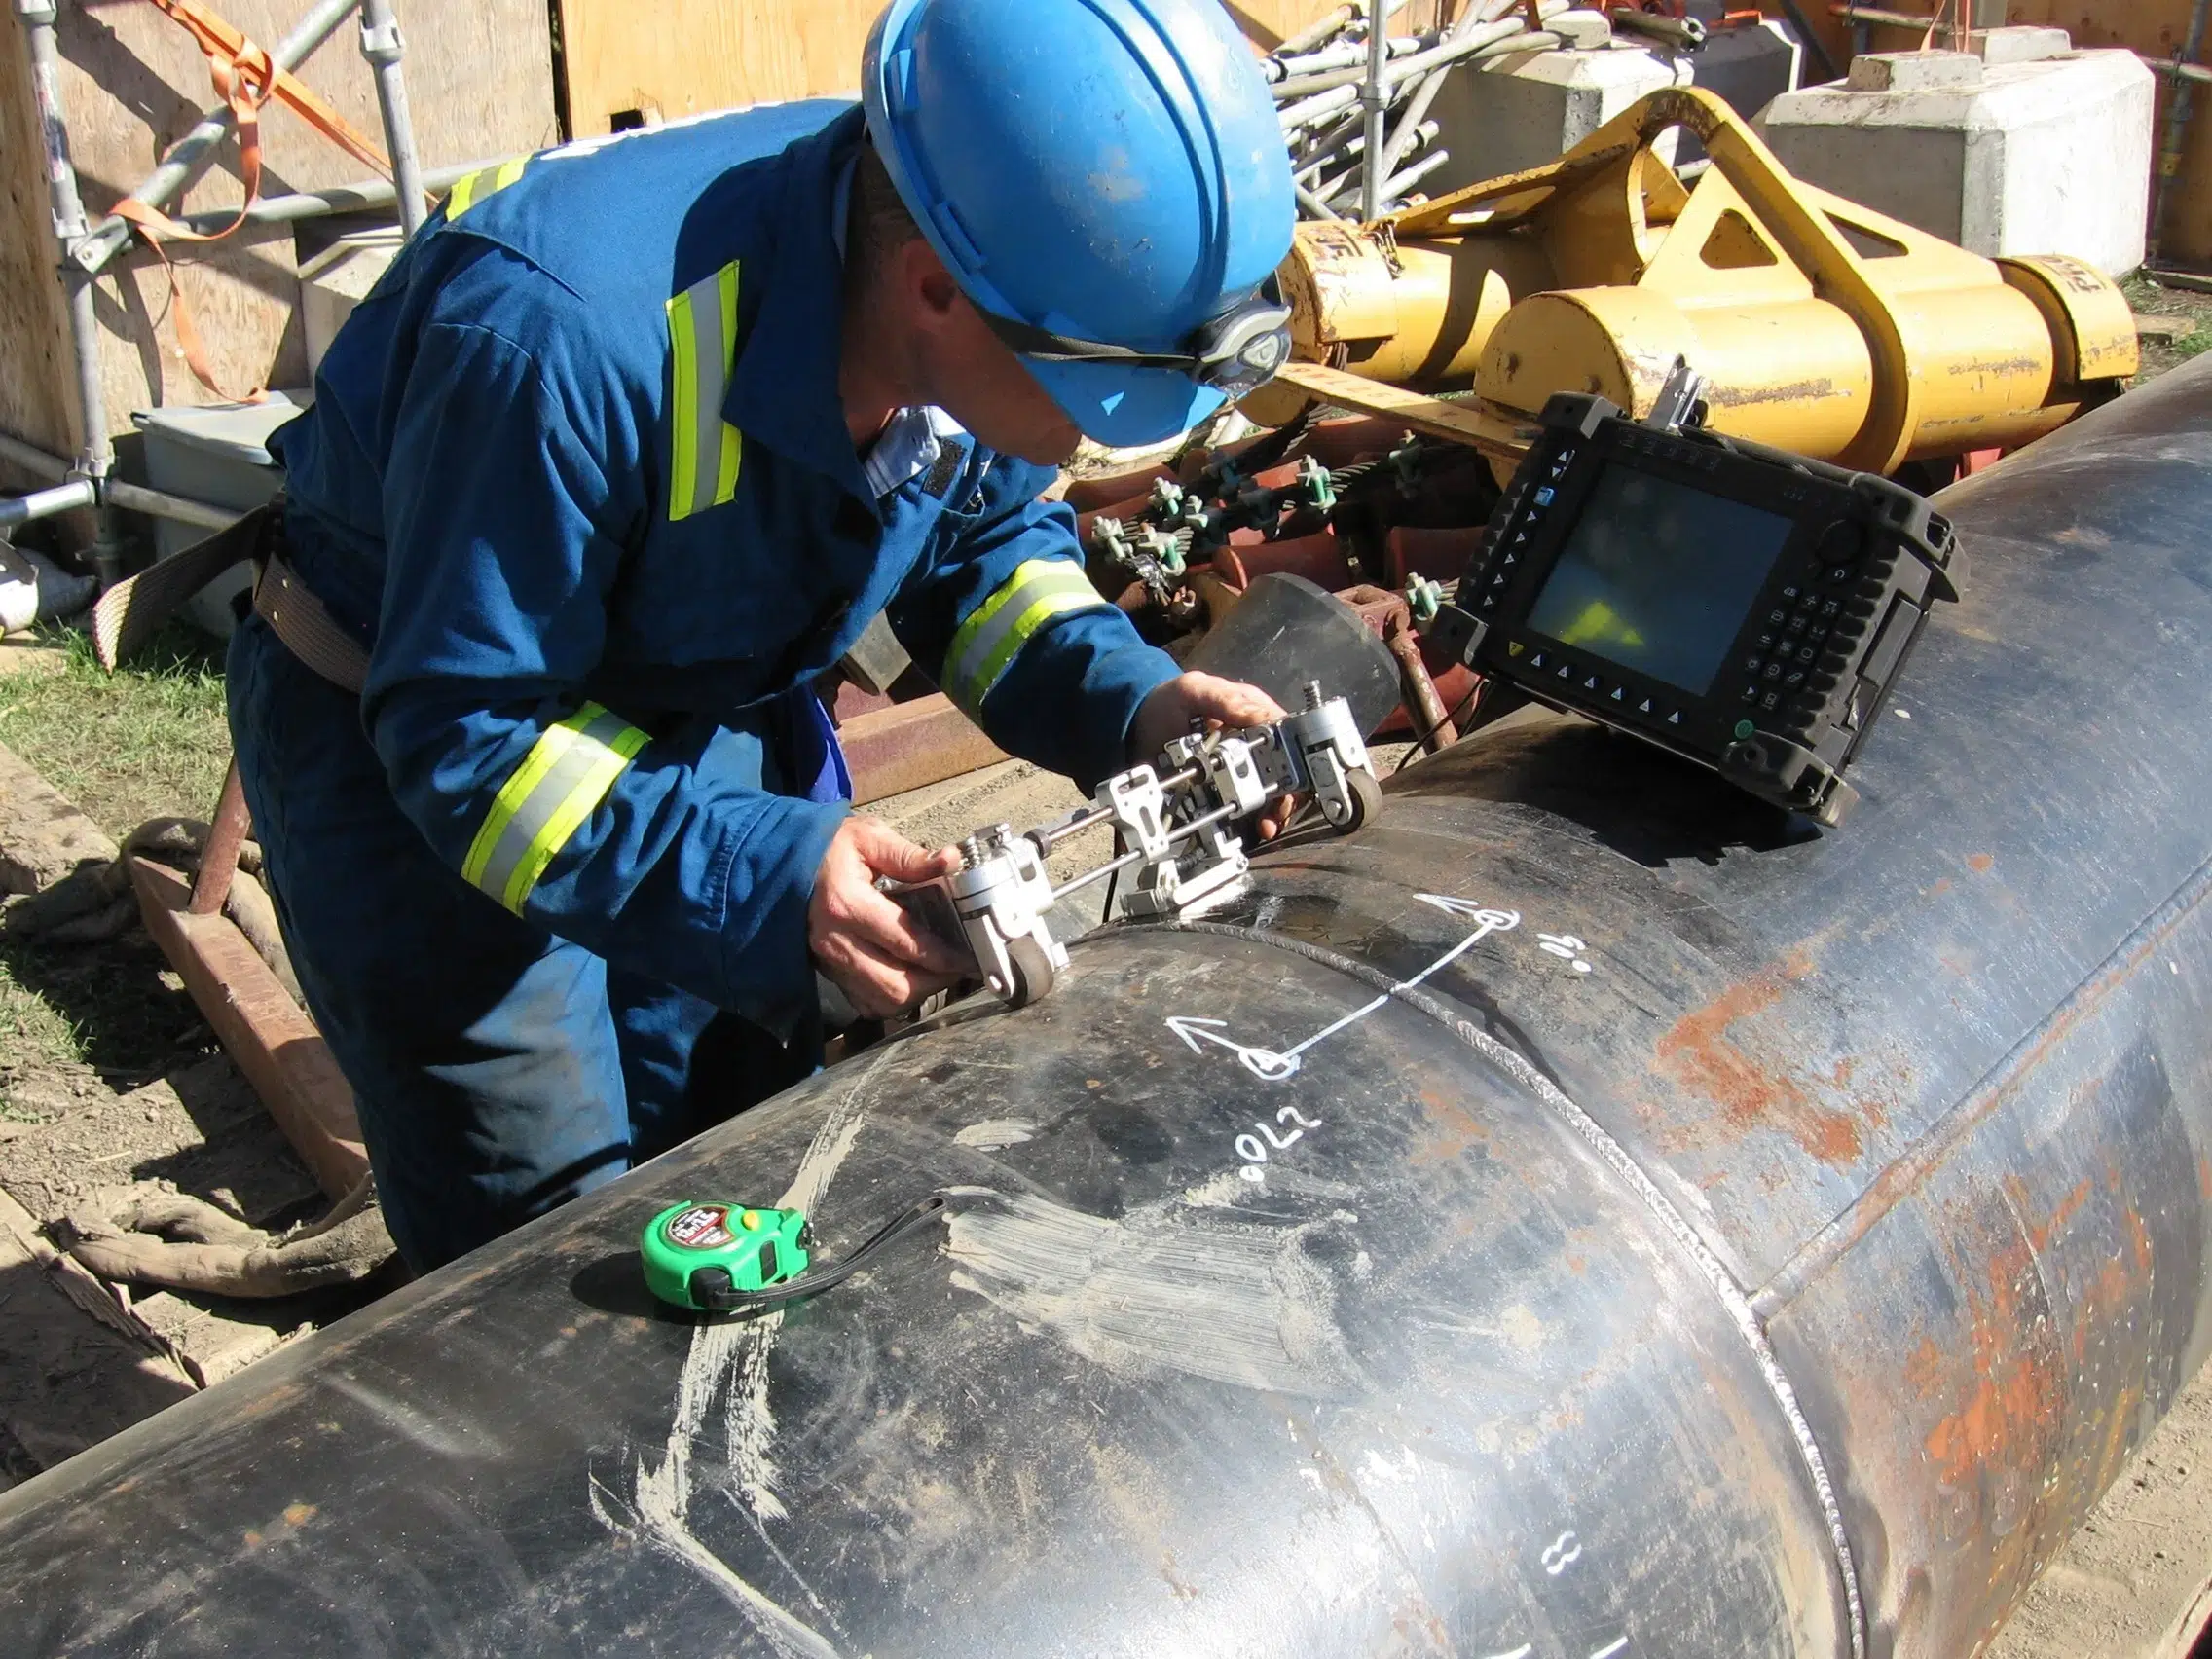
Weld Setup Instructions for the MX2
-
Weld Setup Instructions for the MX2
Setup Instructions for the MX2
Firstly connect the probe to the OmniScan. If making a double sided setup connect probes to splitter and then connect splitter to the OmniScan.
FILE > NEW
WIZARD > PART+WELD (Follow through wizard)
Enter THICKNESS
WELD TYPE = V OFFSET
Enter weld configuration
FINISH
WIZARD > SETUP (Follow through wizard)
MODIFY SETUP > NEXT
PROBE = If not auto recognised choose probe
WEDGE = Add wedge
NEXT
LAW CONFIG = SECTORIAL OR COMPUND (this will be in scan plan)
First Element = Scan Plan
NEXT
ANGLES = Enter MIN and MAX angles and ANGLE STEP (scan plan)
NEXT
INDEX OFFSET = Scan Plan
FOCUS DEPTH = Either 1.2 thickness or for thickness above 25mm, root 1 setup and cap 1 or Scan Plan
GENERATE
UT SETTINGS > GENERAL
RANGE = Change to 6 or 7 skips for calibration purposes.
PULSER > ENERGY = Scan Plan/Technique sheet
RECIEVER > FILTER = Change to bandpass filter to suit probe frequency (10MHz = 10MHz Bandpass)
WIZARD > CALIBRATION
MODE = SENSITIVITY
START > NEXT > NEXT
Put the probe on the block and scan a hole between ½ T & T.
Adjust gates to start just before selected hole and just after. It helps to set gate thresh hold low (between 0 & 5%)
Move probe back and forward so the hole signal goes across the S-Scan and the green line will begin to appear. If it isn’t showing across the whole range, then add dB. Once the green line is maximized hit CALIBRATE.
Now move probe back and forward to get the green line to 80%. If it is to low or to high in places press CALIBRATE again. When it is good >
ACCEPT
FILE > SETUP > SAVE
Now take out 5 or 6 dB on the main gain setting
WIZARD > CALIBRATION
MODE=WEDGE DELAY
Select a hole between 1/2T & 2T
NEXT
DEPTH=Depth to centre of hole (look at drawing)
TOLERENCE=0.1
NEXT > NEXT
Set the gate to just before and just after the hole you have chosen.
THRESHOLD=20%
Get hole signal around 80% and move probe back and forward to get the white line across the screen.
CALIBRATE
Now check calibration by moving probe back and forward again. (you may have to change the gate now that the wedge delay has changed)
If calibration is bad, then repeat these steps.
If calibration is good, then ACCEPT.
WIZARD > CLAIBRATION > TYPE =SIZING
MODE=TCG
START > NEXT > NEXT > NEXT
Adjust range so hole can be picked up across all angles.
NEXT
Adjust gate over 1st hole
NEXT
Reduce dB so green line is around 50% and move probe back and forward to complete green line across the screen.
ADD POINT – now check the green line sits at 80% by moving probe back and forward. If bad CANCEL POINT and start that hole again.
If good, NEXT POINT
Repeat these steps for all TCG holes. Minimum of 3 within the test range.
When all holes complete ACCEPT TCG
UT SETTINGS > RANGE
Adjust range to cover inspection area
GATES
Adjust gates to start above root area and below full skip / 2T
SAVE SETUP
Log in to reply.