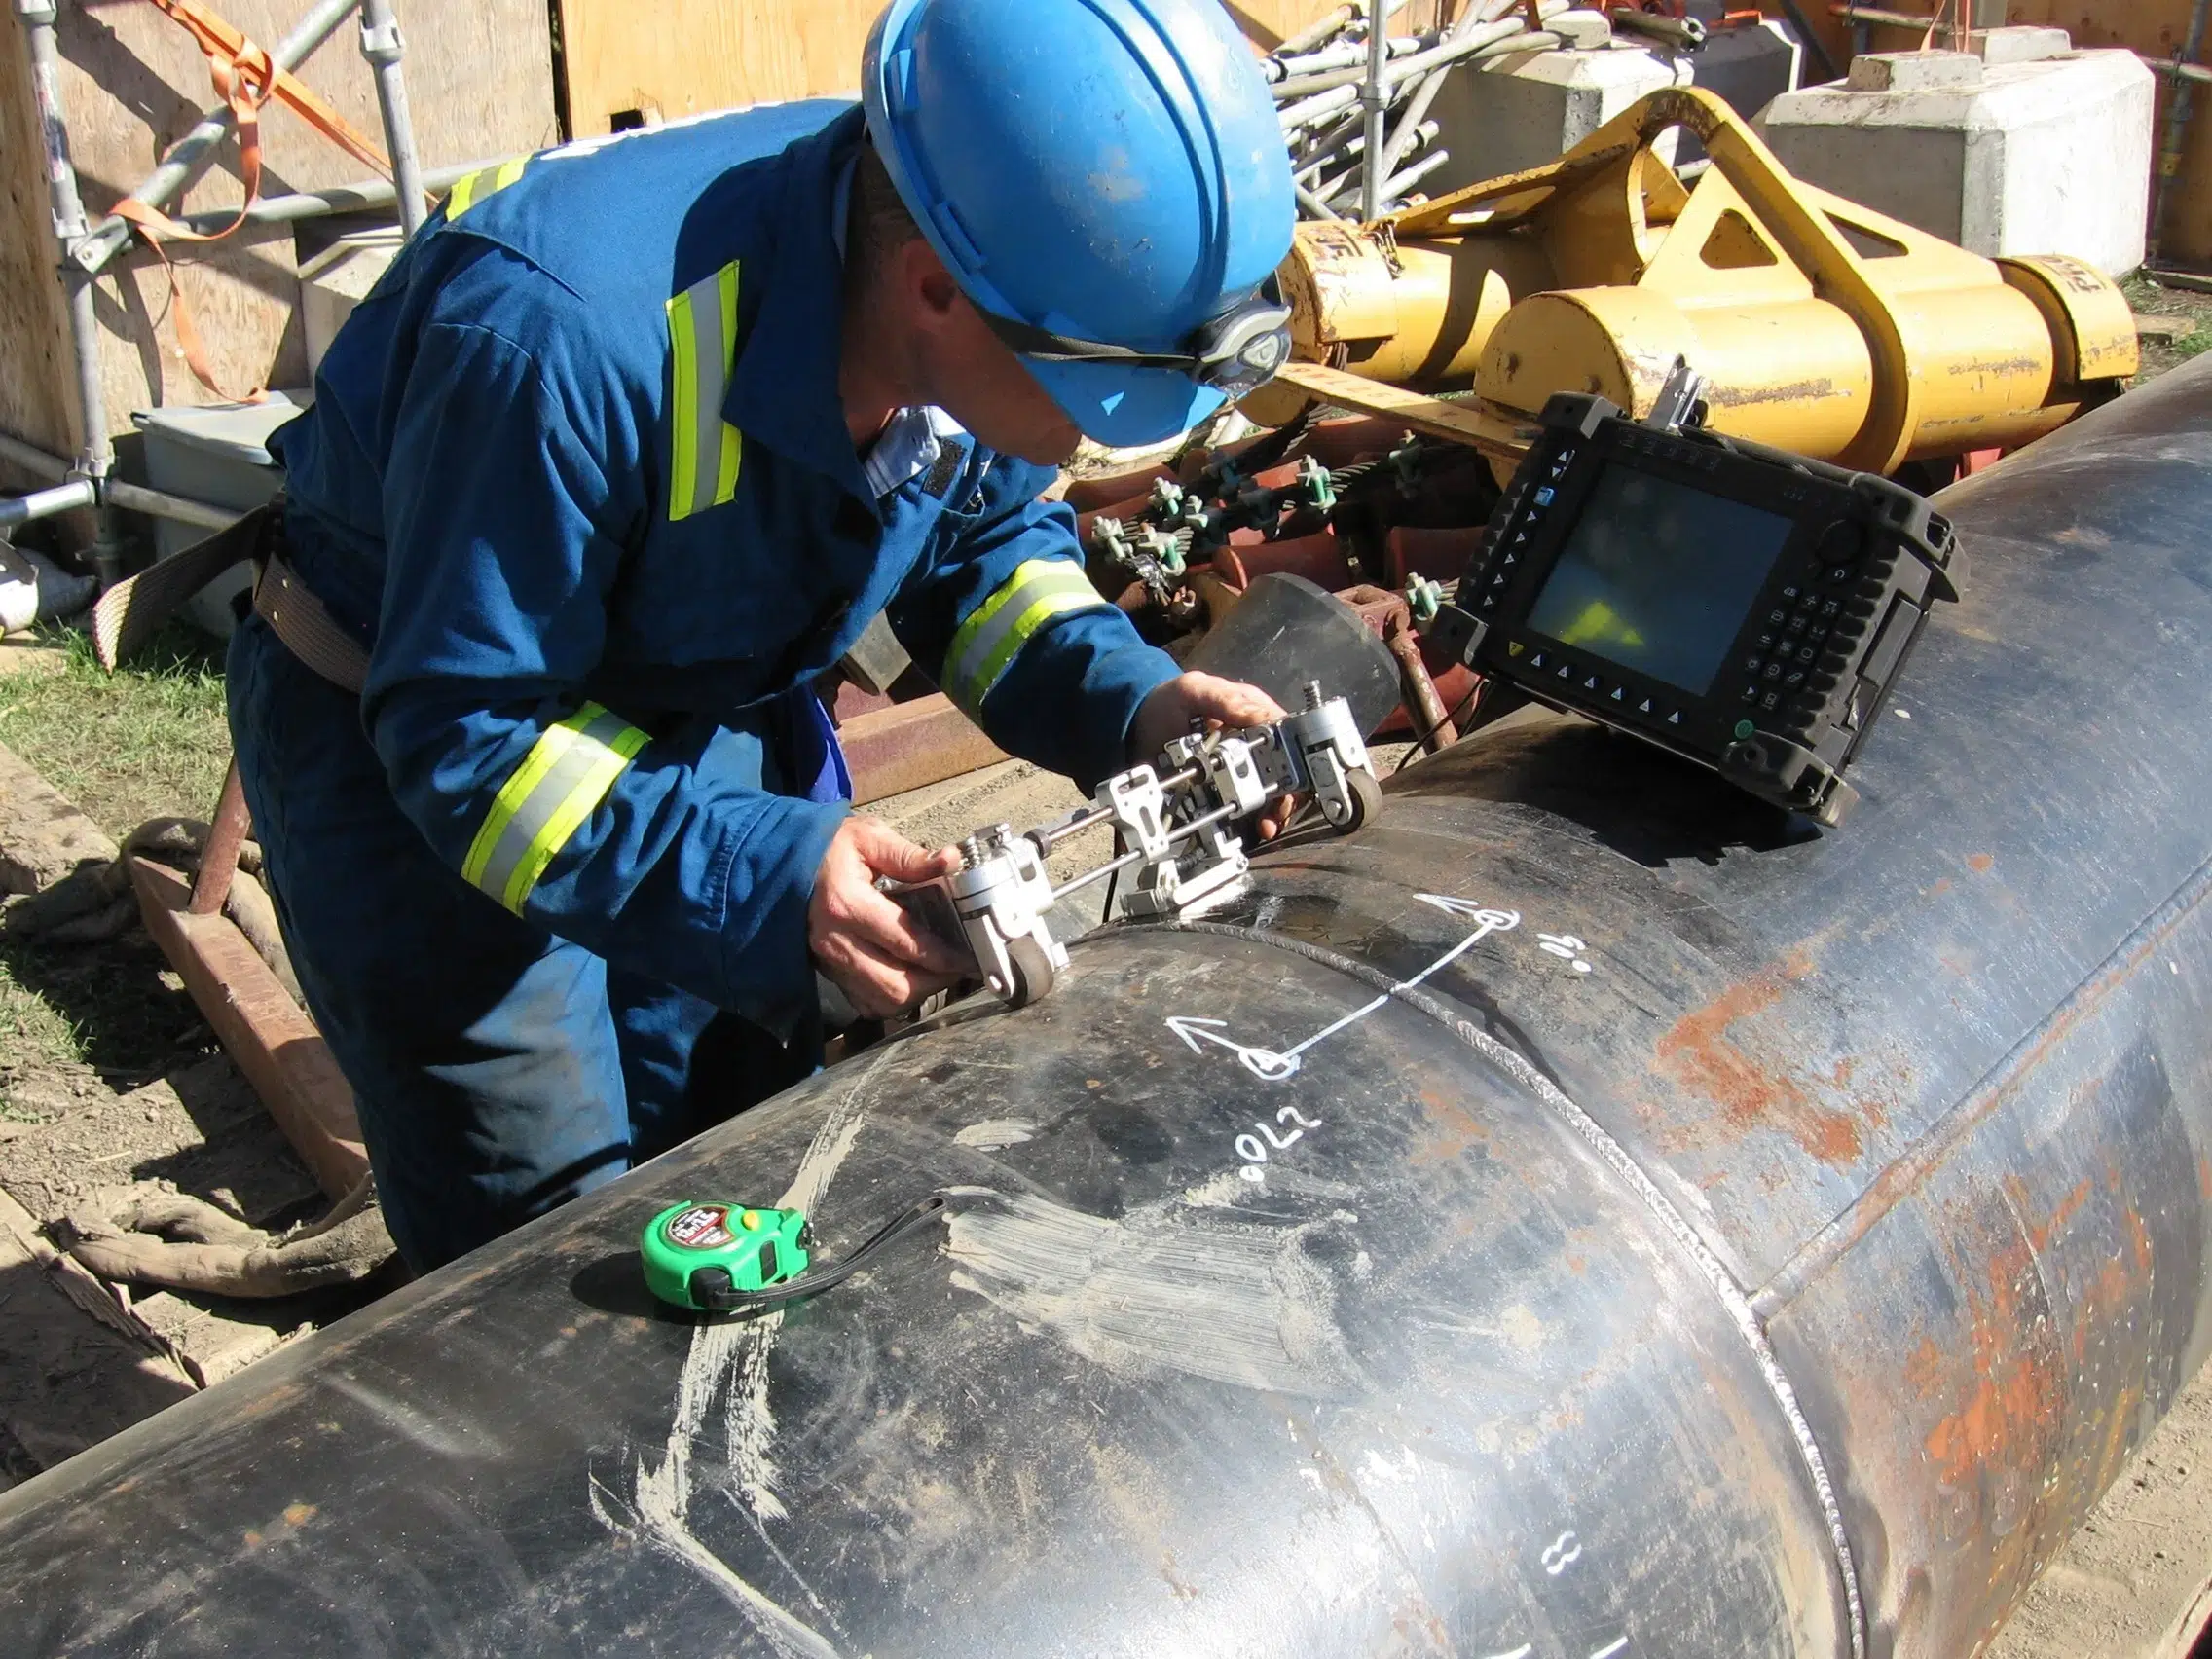
Phased Array Ultrasonics (PAUT)
Welcome to [NDT Inspection Portal]’s phased array ultrasonics (PAUT) group, a place for professionals... View more
What is Phased Array Ultrasonics PAUT?
What is Phased Array Ultrasonics PAUT?
The focus of the ultrasonic beam is on a time delay between several piezoelectric crystals which can transmit and receive independently at different times, creating a constructive interference wavefront that allows energy to focus on the depth at which the sample is examined. The Calculator determines the delay time between the fire group element that generates the required beam shape (considered a wedge probe) and the characteristic acoustic properties and geometry of the test material.
Phased array ultrasound is an inspection method that uses probes with several small transducer pulses to control the focus of a vibrating beam. Numerous small elements are excited with different time delays so that the beam can be directed at different angles and concentrated at different depths by multiplying the length of a long array, creating an electronic movement of the beam. In varying the timing, for example, pulses of the transducers leave the grid with each delay with a pattern of constructive interference, which leads to quasi-plane ultrasonic radiation at a specified angle depending on the progressive delay.
Phased array ultrasound (PAUT) provides improved coverage of any component welded in one fixed or multiple positions, including beam coverage of complex geometries for which conventional ultrasonic techniques are insufficient. Phased array beams sweep over an object like a searchlight, producing writable images that reveal defects hidden in the weld structure, similar to ultrasound in our sonograms used in hospitals. In a smaller form factor, bead inspection of phase array equipment can be automated to scan circumferential and axial welds of mechanical systems for high volume inspection and manufacturing applications.
Phased array ultrasonic transducers (PAUTs) are an effective method of carrying out inspections in the form of imaging and non-destructive inspections of structures and materials. Phased array systems are increasingly being used in the industrial environment to provide new, in-depth visualizations and information for standard ultrasonic testing including profiling, welding inspection, crack detection and bonding.
Phase arrays can perform the function of conventional ultrasound and can be used for a wide range of inspection and measurement applications including medical imaging and non-destructive industrial testing (NDT).
In the most basic sense, phased array systems use wave physics principles to phase the different time series of the outgoing ultrasonic pulses in such a way that the individual waves generated by the elements of the array in the front combine and add or cancel energy in a predictable way to control the shape of the sound beam.Phased array systems use phase laws of wave physics to alter the time range of pulses in this way by separating and merging the waves before and after each element of the array, adding or canceling energy in an expected manner to guide the contours of the beam. Unlike conventional fault detectors, phase array systems sweep the beam across a series of refracted angles rather than along a linear path focusing on a number of different depths increasing the flexibility and ability of inspection systems.
This is achieved by pulsing the individual probe elements at different times. This means that a transmitter only has to inspect each component at different angles, which is faster than the standard beam angle in an UT, and can display the specimen cross-section in real time, making interpretation easier. With PAUTs with several elements, each pulse generates a different beam shape, such as linear, focused, sectoral, etc.Unlike conventional one-element converters, which combine the effects of the beam components hitting its range, phase field converters sort the return wave front according to the arrival time and amplitude of each element. Unlike beam phase array probes, which are controllable, they consist of several smaller elements, each pulsed by a computer to calculate the timing.
Multielement transmitters enable ultrasonic testing of complex shapes.
A one-element probe without a phase array, also known as a monolithic probe, emits a beam in a fixed direction. In order to test and interrogate large amounts of material, conventional probes scan the area of interest with a moving, rotating and sweeping beam. The use of phased array probes which are in direct contact with components mounted on hard wedges, water delay pipes or wheel probes allows inspectors to inspect large areas with a very high resolution for corrosion, cracks and other defects.
Optimized beam focusing angles allow fast scanning of moving parts, multi-angle inspection, and inspection of materials with complex geometries. Inspection speed is improved compared to conventional probes, and phase arrays allow the user to alter the shape of the ultrasonic beam focal point to optimize inspection.The use of electronic scanning (firing successive groups of elementary rays or PAUTs) reduces the need for mechanical scanning, reducing inspection time.
The ultrasonic method has been used for many years to investigate defects in composite materials. This is an X-ray technique with an advanced NDT detector system. Phase array probes can replace multiple conventional ultrasonic probes, simplifying complex procedures and eliminating the need to set up and calibrate multiple probes.Phased Array Ultrasonic Testing (PAUT) is an advanced non-destructive testing technique that uses a series of UT ( Ultrasonic Probes), consisting of multiple small elements that are pulsed by a computer to determine the time and phase. PAUT is a focused inspection technique designed to integrate beam technology to detect complex geometries and size defects. There are four major differences between conventional UT and PAUT: PAUT PAUT, as it is commonly called, is a non-ESTructive test method that uses ultrasonic waves (radio frequency sound waves) to detect defects and cracks in materials of any thickness.
Sorry, there were no replies found.
Log in to reply.
