Phased Array Ultrasonics (PAUT)
Welcome to [NDT Inspection Portal]’s phased array ultrasonics (PAUT) group, a place for professionals... View more
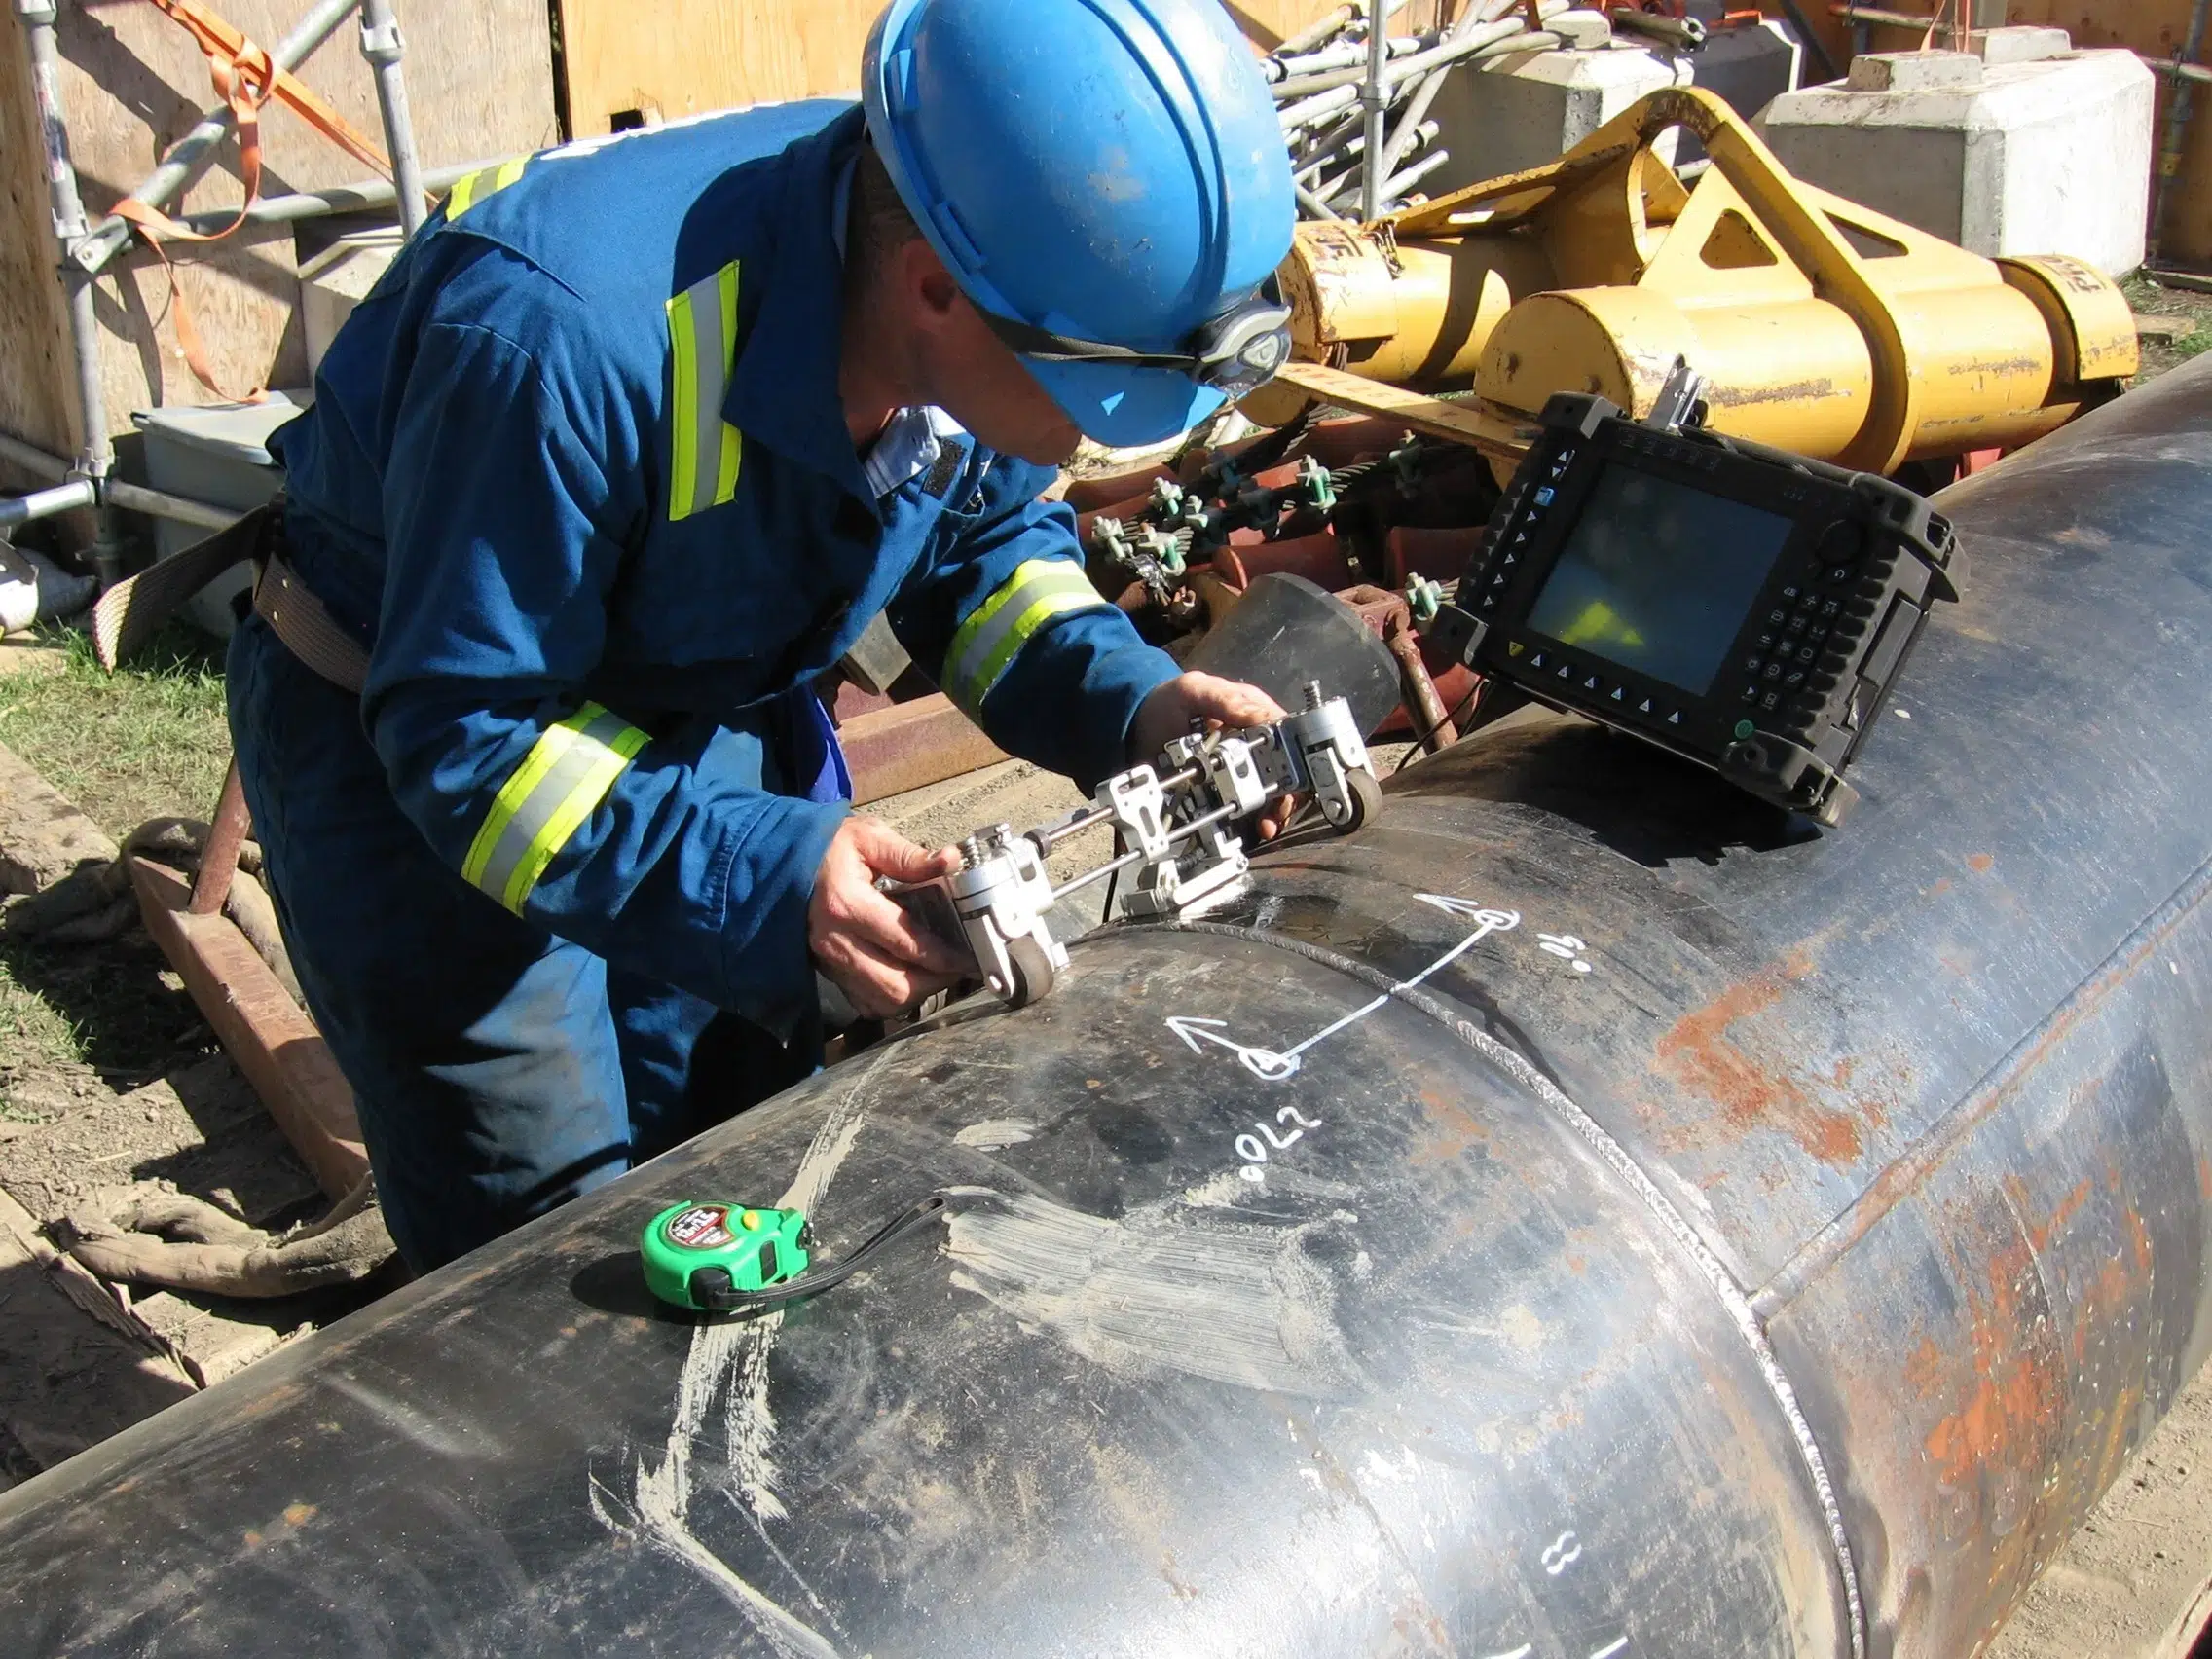
Phased Array Ultrasonic Testing System for Inspection of Welds in Feeder Tubes
Phased Array Ultrasonic Testing System for Inspection of Welds in Feeder Tubes
Phased Array Ultrasonic Testing System for Inspection of Welds in Feeder Tubes
Feeder welds need to be inspected as part of the production plan in order to optimize welding parameters. Traditionally, Radiographic Testing (RT) is performed, however, RT cannot reliably detect planar defects such as lack of fusion. Lack of fusion defects are always considered rejectable regardless of their size as they are likely to grow in-service. Consequently, without inspecting feeder welds with an NDT technique sensitive to planar flaws, a faulty weld procedure which systematically produces lack of fusion defects could be approved for component replacement.
PAUT, on the other hand, is highly sensitive to planar defects. Accordingly, PAUT is commonly used to complement RT for inspection of coupons during weld development. Feeder tubes are small diameter (2-3.5 inch) and thin walled (5 – 9 mm) which was found to produce unique challenges for development of a code compliant PAUT inspection technique. Principally, the tight curvature of the OD surface was found to produce passive aperture sidelobes so that the maximum response from defects was not aligned with the centerline of the probe. Using ultrasonic modeling (CIVA), it was possible to design a custom probe-wedge combination where these sidelobes were not generated in the piece. Additionally, the use of compound scans was employed in order to cover a large HAZ and weld region using a single group. Calibration blocks were designed based on code requirements and modified to facilitate calibration. A motorized scanning system was used to hold PAUT probes in two configurations for feeder-to-feeder (double sided) and feeder-to-nozzle (single-sided) configurations. The system was tested using a set of samples with known defects for Probability of Detection (PoD) study. The study showed 95% detection rate of planar defects with only a 4% false call rate. Inspection/analysis procedures as well as technician training packages were prepared to support use of the tool for in-factory weld qualification.
Sorry, there were no replies found.
Log in to reply.